


Bonus Issue #05: Bedroom Reveal + Thoughts on Lime Wash
Putting together our bedroom with a mix of old + new, and why I need a few years before I ever think about attempting lime wash paint again.

This bonus issue will be short and sweet, mostly to provide links and a little backstory on how we pulled together our dream bedroom space, but also to share my experience with lime wash paint if you’re thinking about dabbling in it (be warned!!).
The bedroom has always been a space that’s been super important to me to have a certain energy to it— calm, and stress/stimulus-free (no screens or work stuff). Until this house though, that also meant minimal effort in terms of decor and design, mostly out of laziness. I have never had a proper nightstand until now!
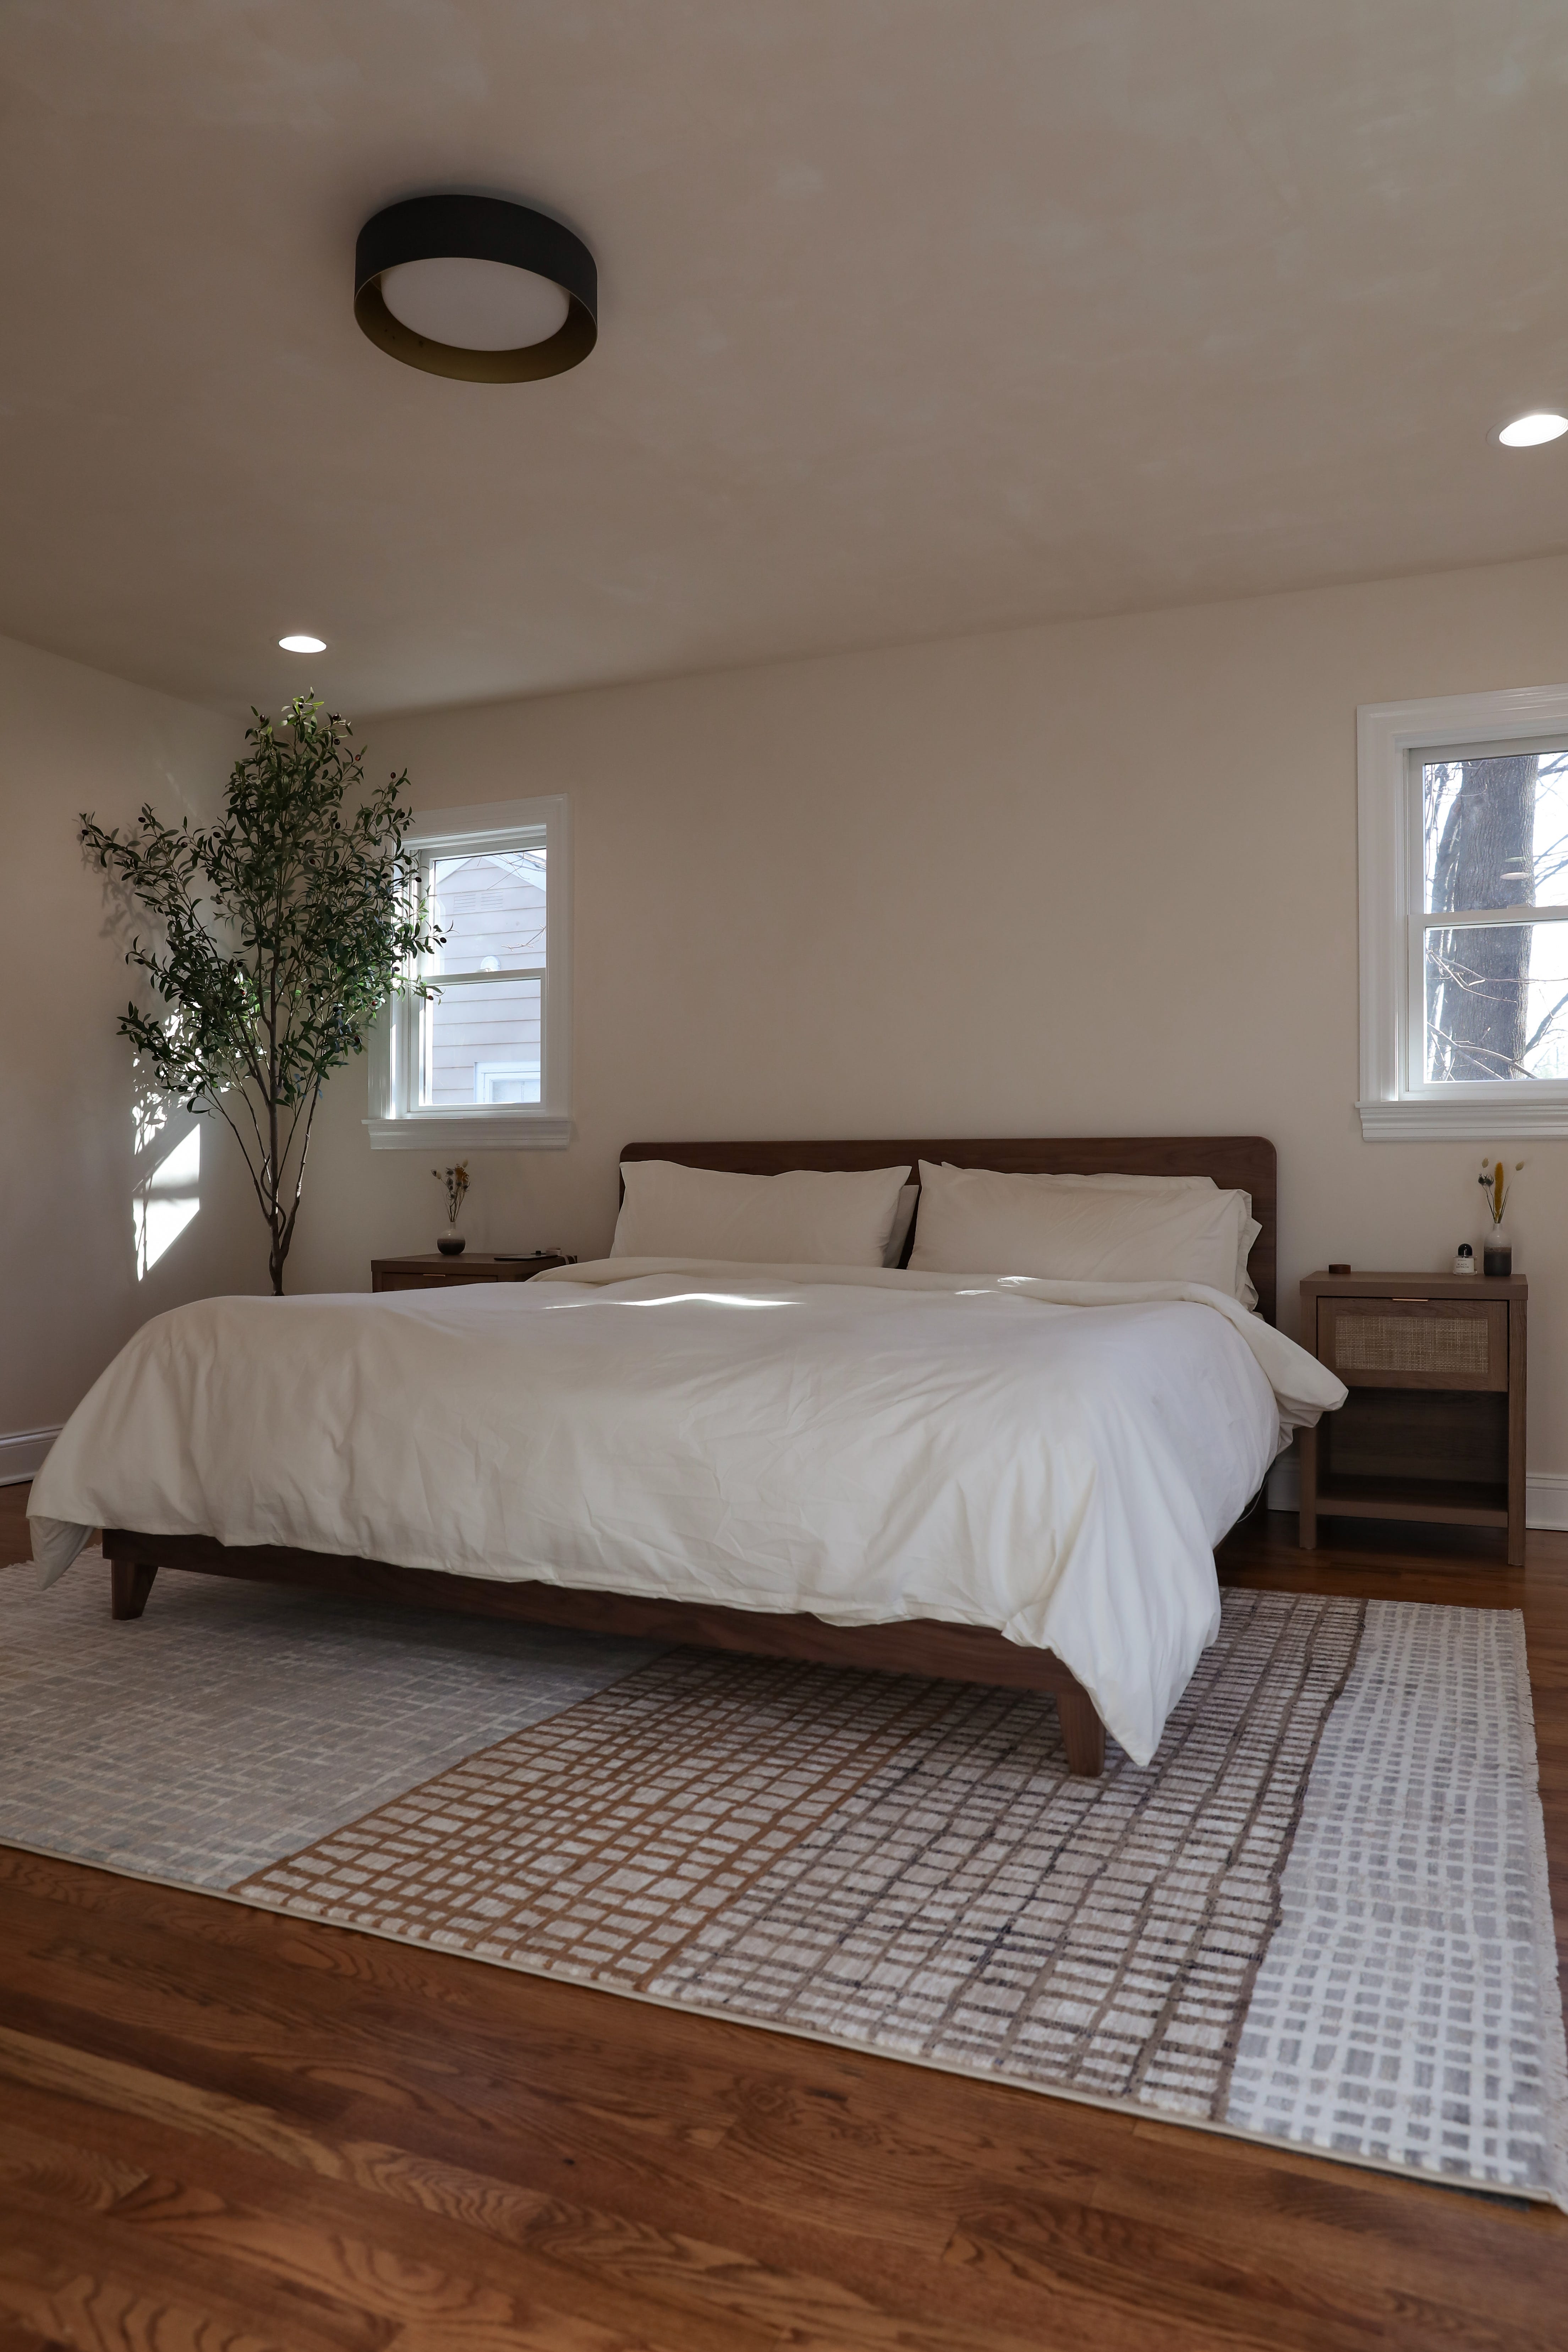
We wanted to bring in a little of our California calm energy into this room, so we focused on a lot of organic elements and textures with our picks of new items, to help incorporate our existing items too.

We’ll get to the lime wash paint situation in a second, but for convenience of you friends coming over from Instagram for the links in my Reel, let’s jump right to that:
Bedroom Links / Sources
Bed frame / Mattress - I stand by this, this mattress is both J and my favorite we’ve ever slept on, fancy hotel beds included— sustainable, clean materials, and the support has been amazing for our bodies. The bed frame is also sustainably made, and is the perfect low-profile, classic walnut-finish bed frame of my dreams.
Rug - was our first time buying from Rugs.com and I was really pleased with the quality, softness, and print of this one, especially since we got it during a holiday sale! This design was made during their collaboration with Prabal Gurung, and it introduced just the right amount of funkiness with the mix of light and dark colors to help mesh the rest of our bedroom items. We also used this rug pad underneath to give it a little cushion and make it non-slip.
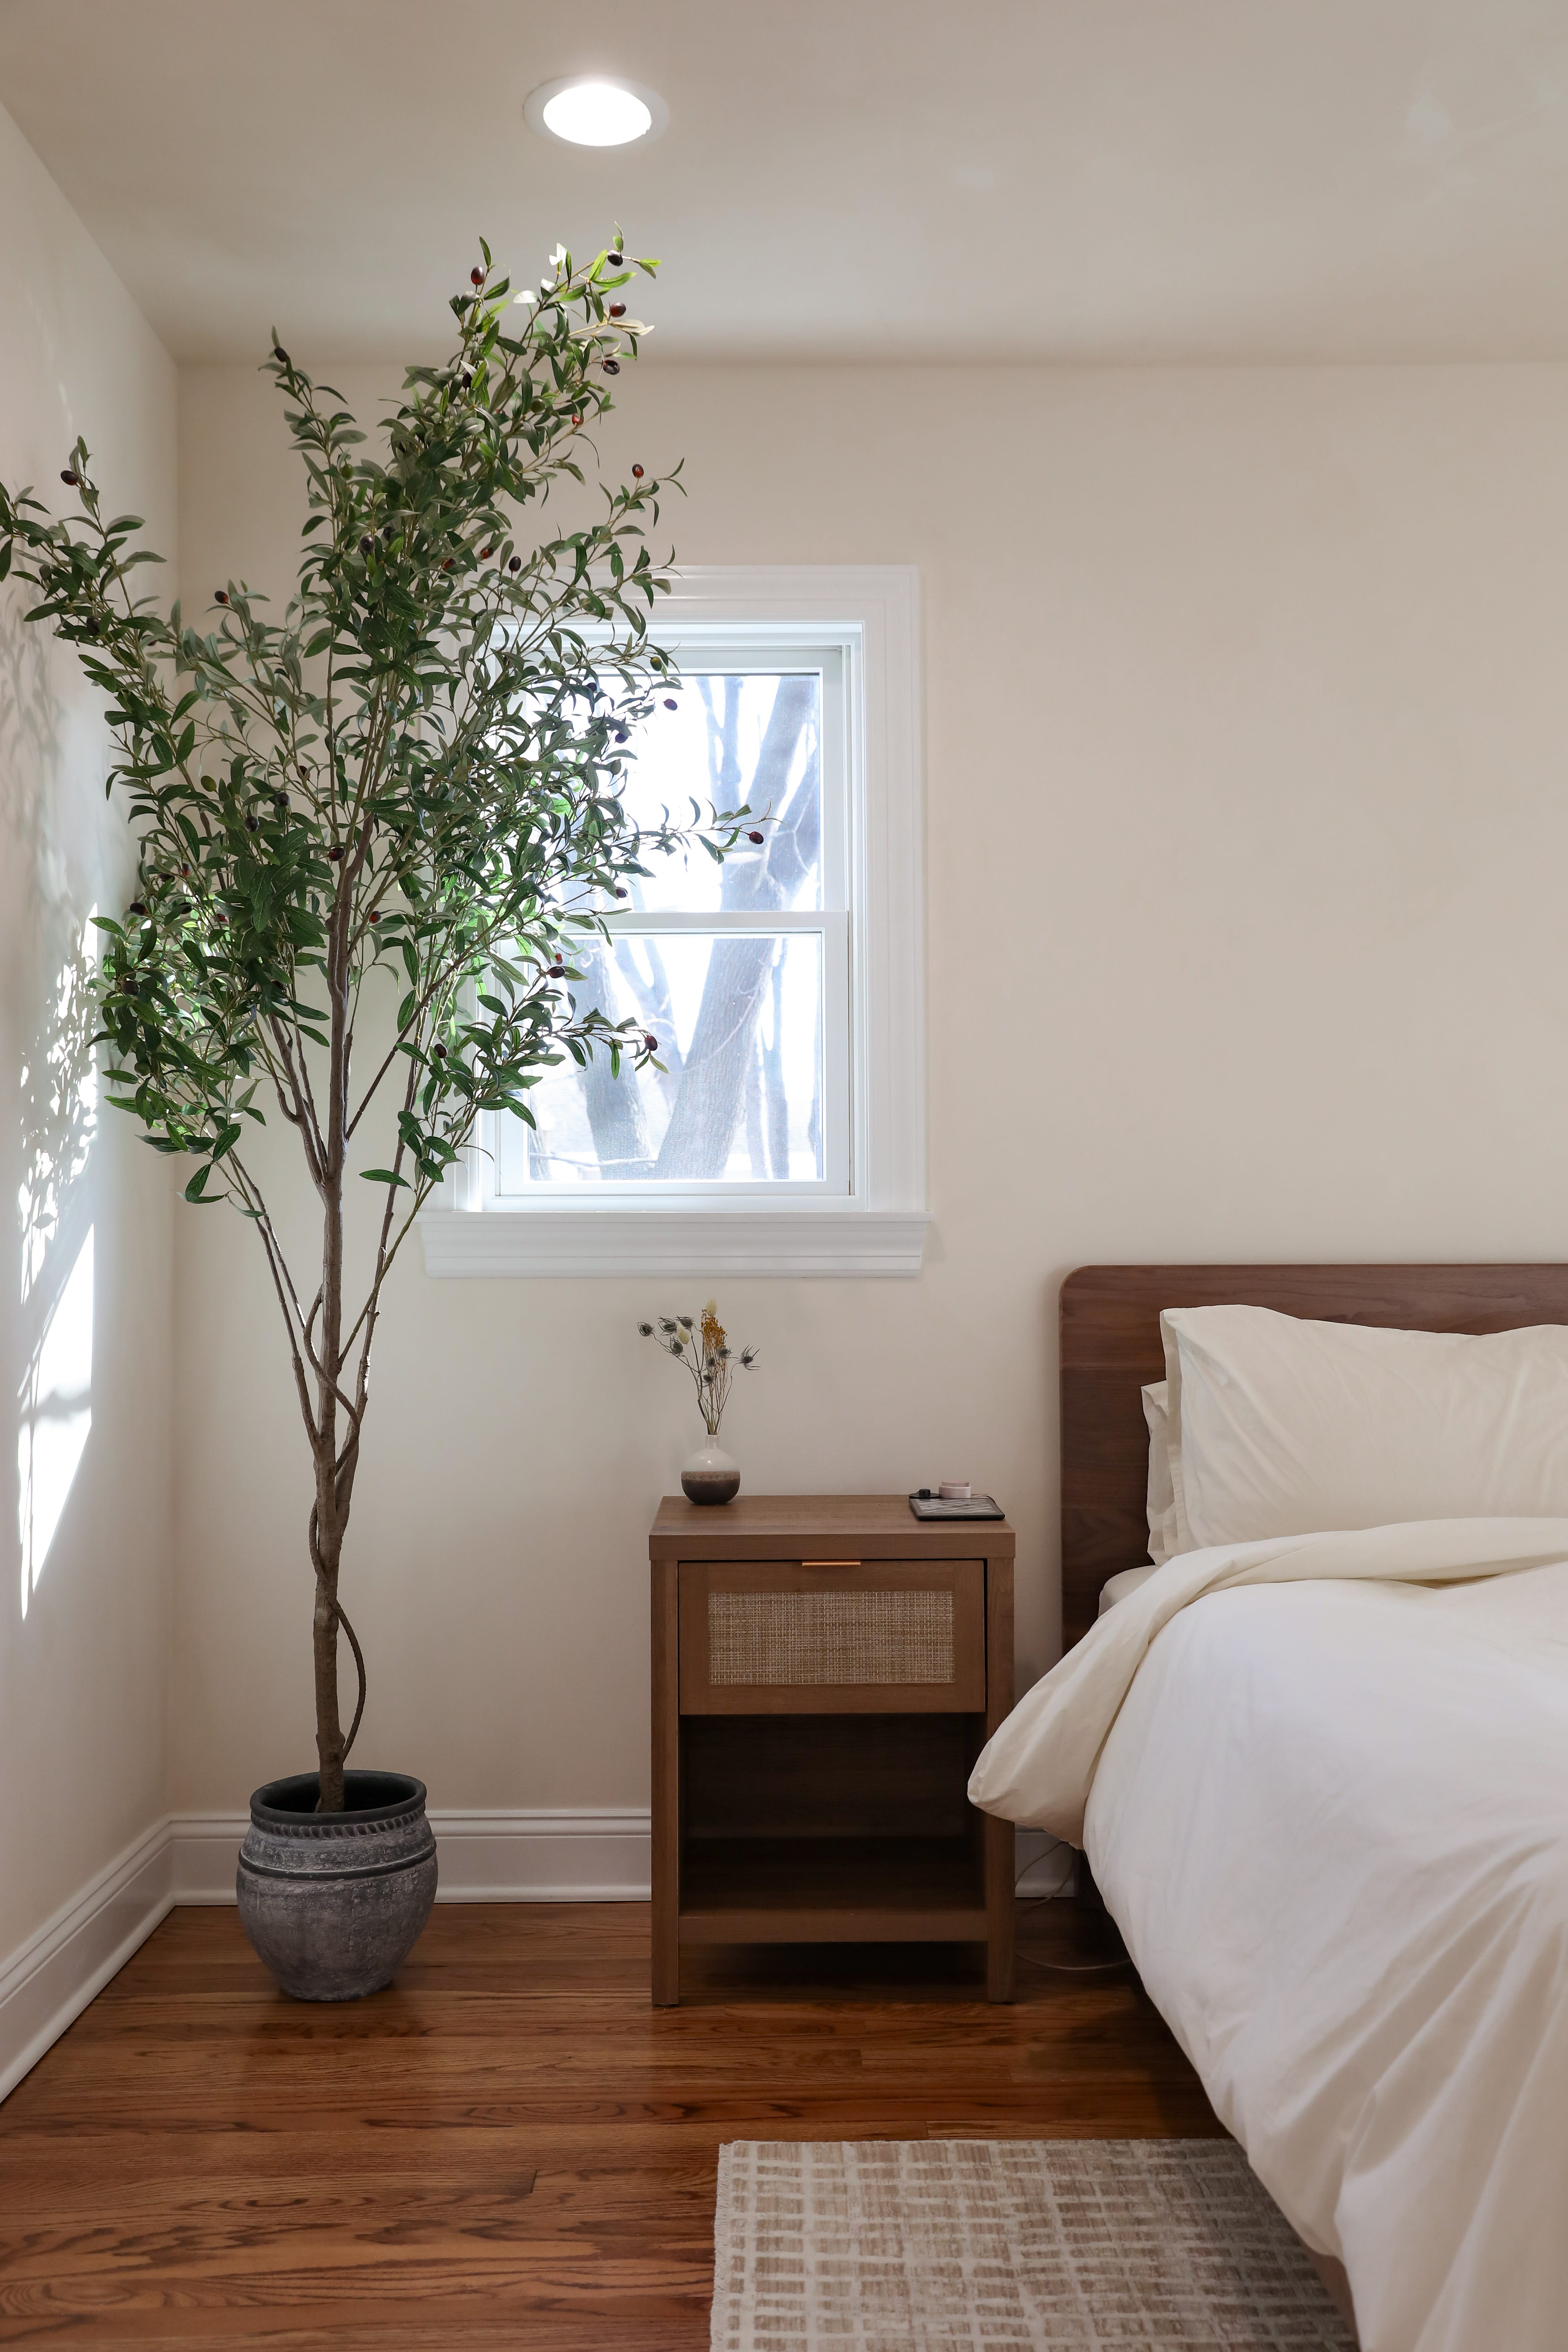
Nightstands - we got this set of two in the ‘Natural Oak’ finish, which I think goes really nicely with the walnut bed frame and color of our wood floors. It was surprisingly well-made, for the price-point (just over $80 per nightstand), and pretty easy to put together on my own. I looove that it has a drawer so we can keep all the typical nightstand knick-knacks out of sight easily.
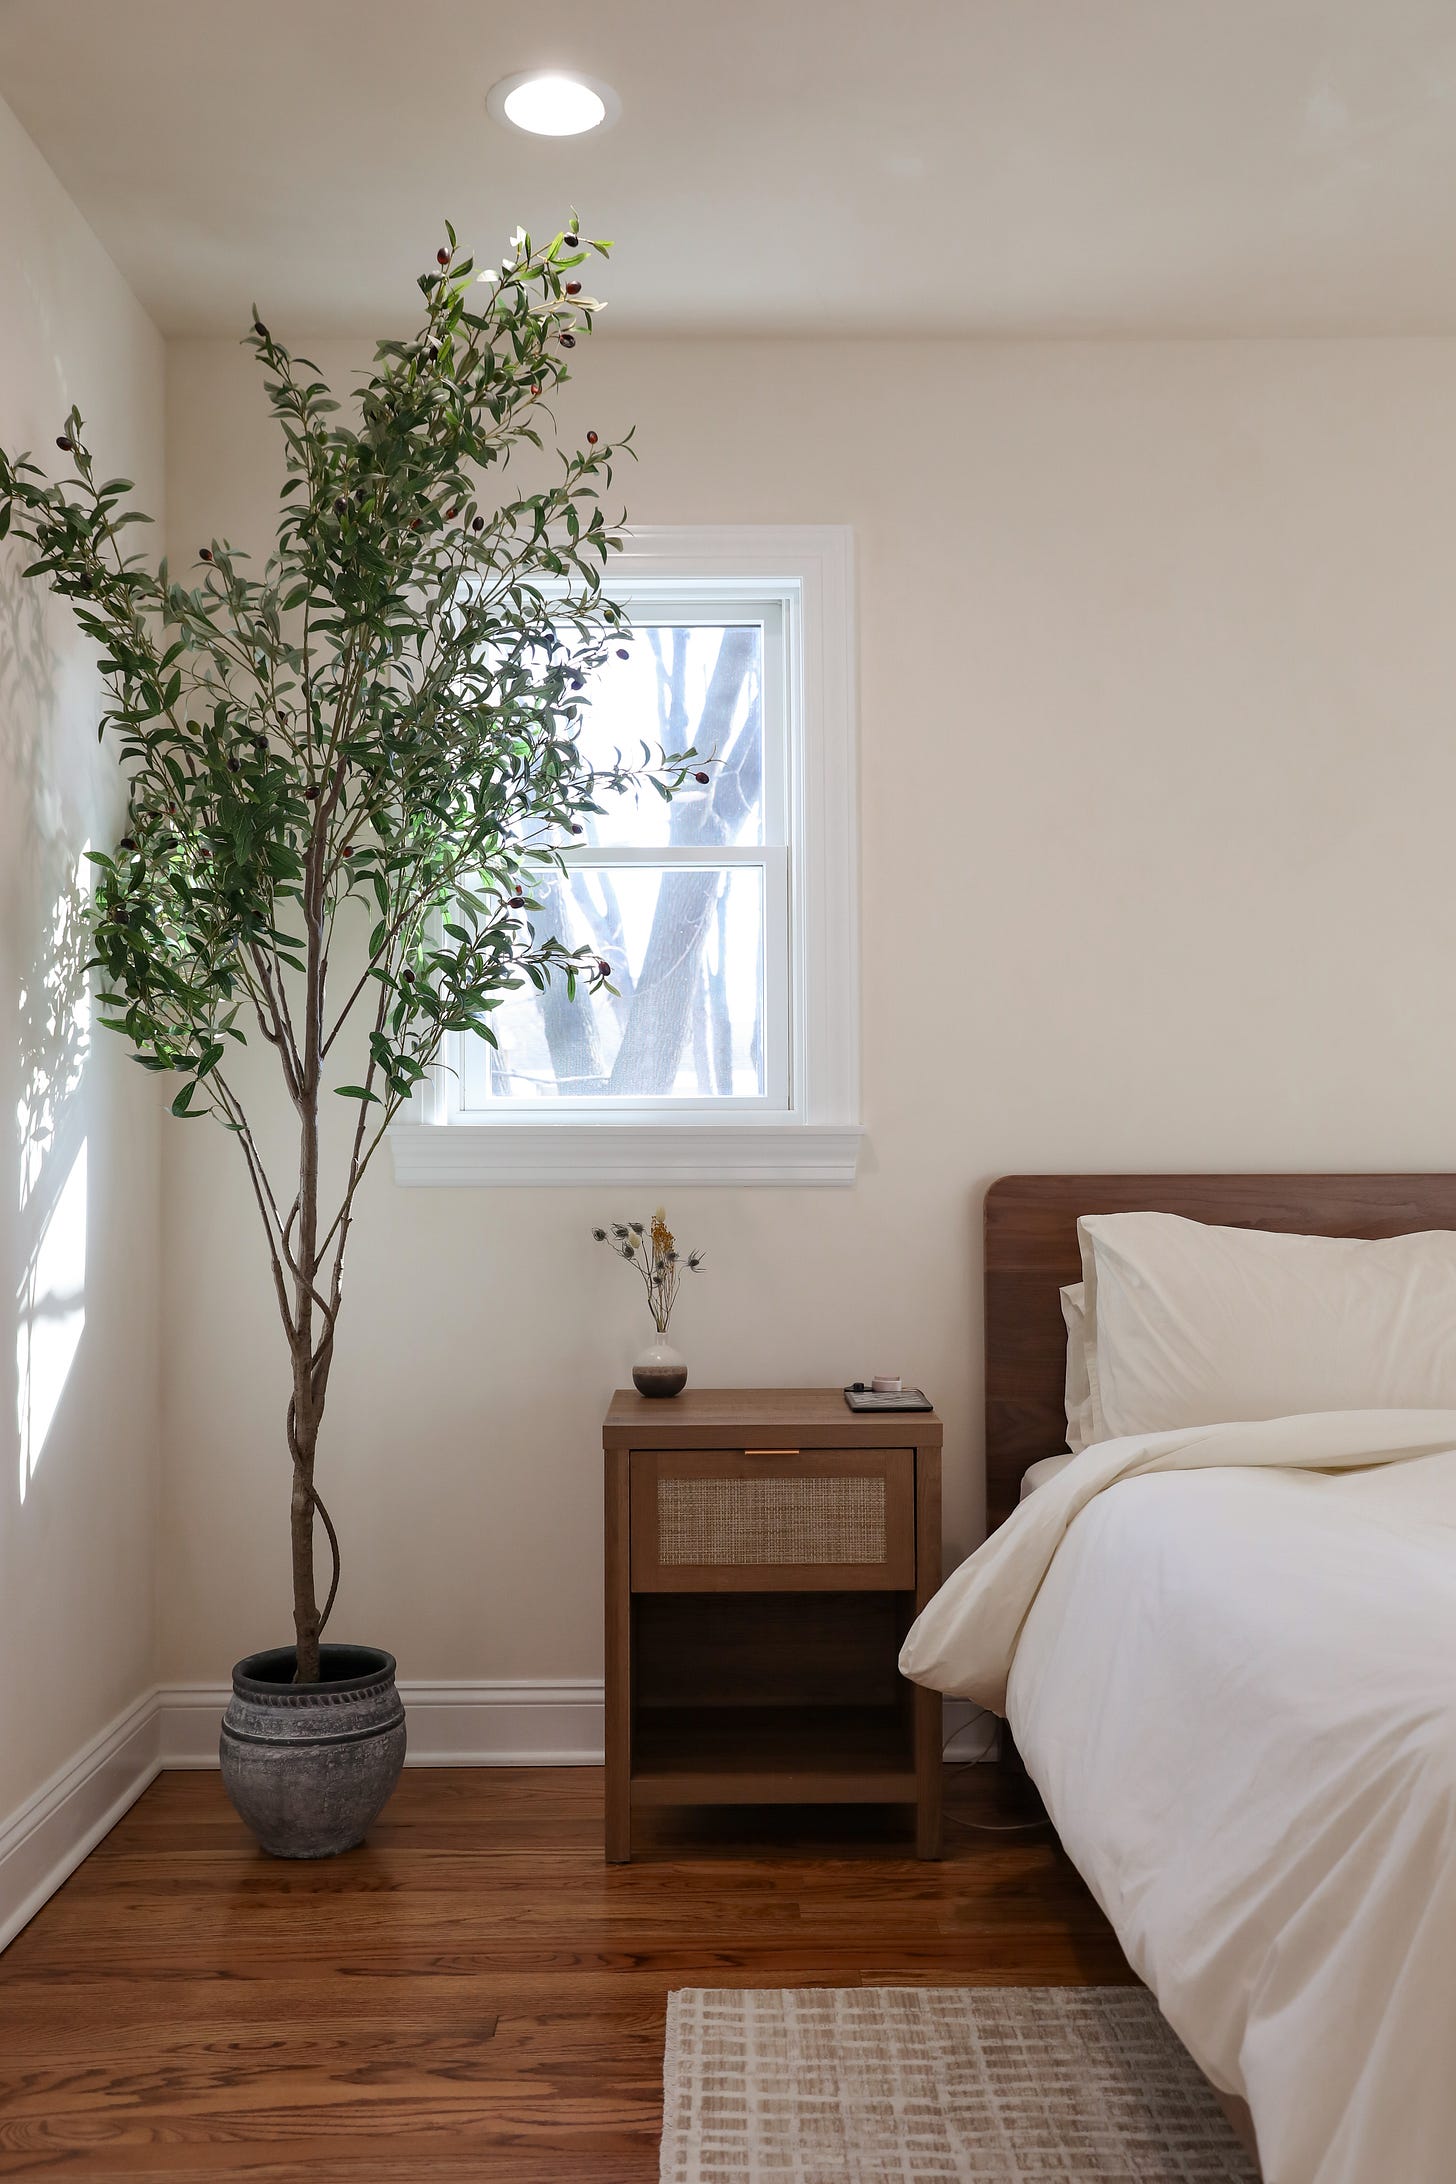
The little vases on our nightstand are repurposed from our old bedroom— we got them at Rolling Greens in LA! I filled them with some flowers I dried from TJ’s and a few stems from another dried bouquet I got from Plant Shed in Englewood, NJ.
Faux Olive Tree - Another California touch that J and I wanted, so I looked through SO many pages of these online to weed out the super artificial looking ones or the insane $500 ones, and I’m really happy with how this one looks! It’s 8’ tall and the branches are easy to bend a bit to style. Then I found this $40 concrete planter from Target that has an antique finish, that I thought went really well with the rest of the coloring in bedroom.
Flush Mount Light - I knew I didn’t love the look of the ceiling fan light, but it turns out, Benny hated it even more— he wouldn’t stop looking up at it, terrified, and growling at it, so we immediately took off the fan prongs and I found this simple flush mount light (for $65 on sale) to replace the mismatched-looking light. Roberta the builder gave up on this one and we got the electrician in to install it!

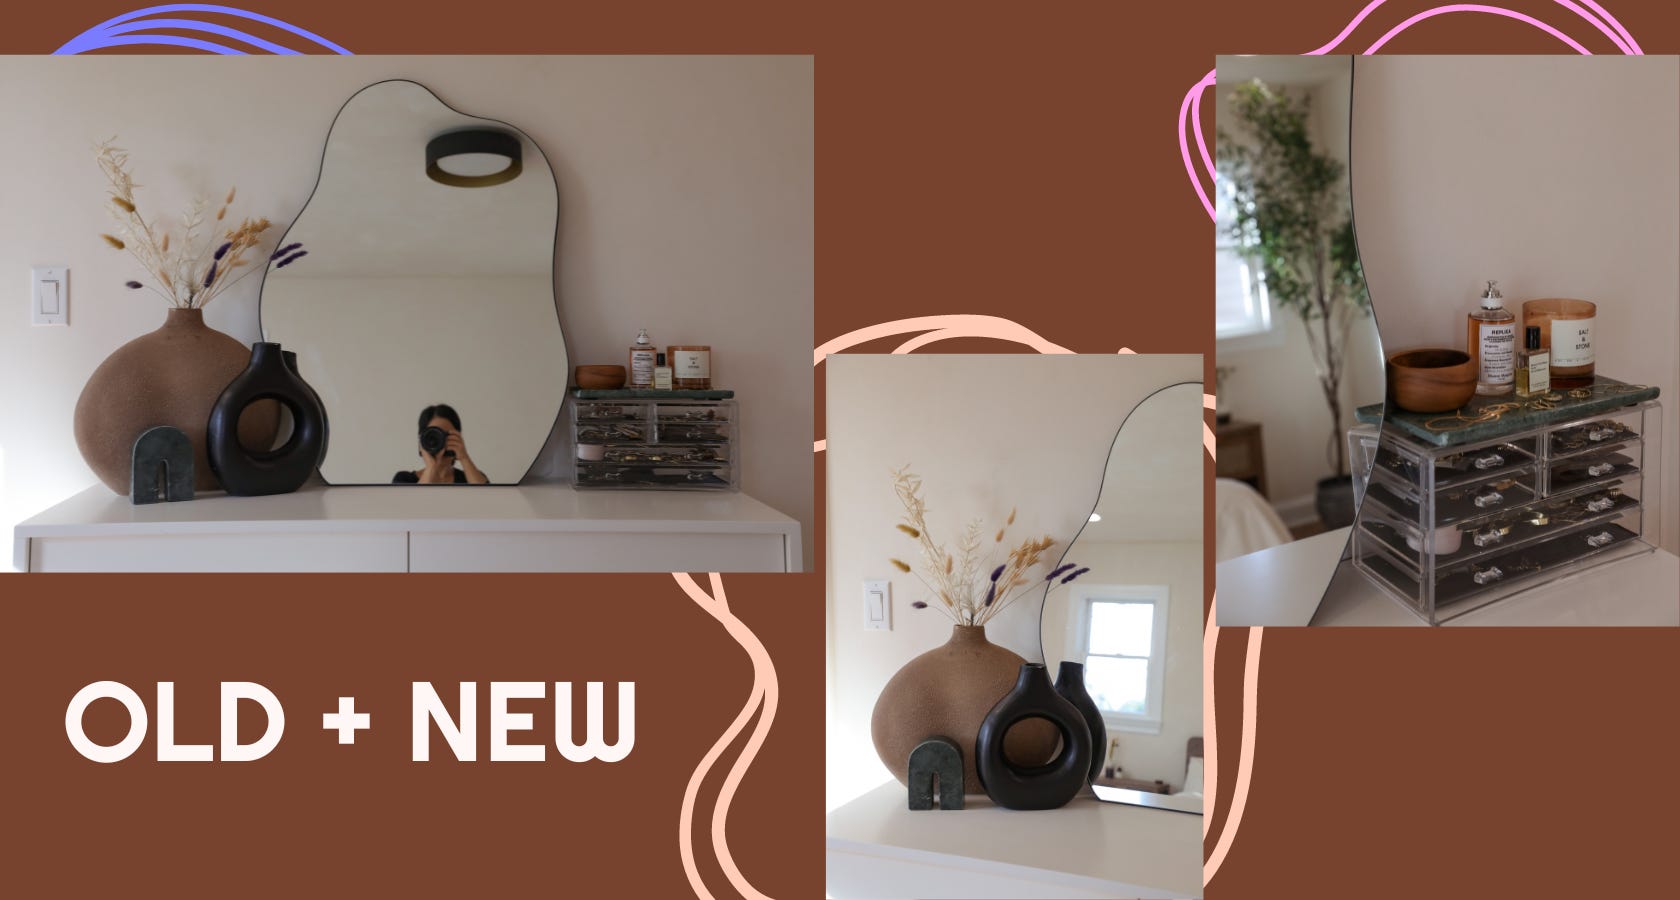
Dresser - We’ve had this dresser since 2019 in our Brooklyn apartment (and got it for $560, but it’s now $999?? What in the inflation…). I will say, it looks great in here and has held up nicely over the years of every day use.
Dresser stylings:
Large Brown vase - this was a new buy ($50), and I looooove the cool texture of it. Put some dried flowers I saved from our LA home (that I got from Flowerboy Project in Venice) to add some texture and dimension.
Black O vase + green marble decorative object - these were amazing in-person finds at Homesense, both in total were $30!
Wavy mirror - I neeeever buy things without a specific purpose, but something came over me during that President’s Day sale and I had to have this mirror? It had Sitting in a Tree vibes?? Thankfully, it ended up being the perfect thing to complete this dresser into a little vanity situation!
Jewelry box - I’ve had this thing since I was 10 years old, no idea where it’s from, I’m sorry!
Green marble tray - I actually found this before the other green marble object, and it was the perfect extra splash of color for this whole vanity situation. $38.


Why Lime Wash? Would I Do It Again?
After seeing our new house for the first time during inspections, it was painted nicely… but the whole house was painted in the same cool, grey color. With age, I’ve realized just how much my environment impacts my mental health, and the inevitable dark and dreary winter months of the northeast already are bringing more than enough grey energy into my life. I instantly hatched a plan to paint the bedroom before the movers brought the rest of our furniture, making it harder to paint. I’ve long loved lime wash paint, since seeing a good amount of it in Europe and on the pages of AD back in 2017, for it’s environmental and health-friendly properties (no VOCs, as it’s a natural mineral finish); but the massively high ceilings of our Brooklyn apartment and the popcorn-ish texture of our walls in our California house made it impossible to try out, so I jumped on the opportunity to do it for our bedroom.

I… had no idea how physically taxing lime wash paint would be, or that it was really a multi-day process. After getting through a pretty torturous 3 full days of non-stop painting, I was starting to wonder if I was just feeling weak because I’m still regaining my strength post-surgery, but after 1 day of J doing the ceilings and him feeling so nauseated and dizzy from the exertion AND my having no issues painting our entire guest bedroom with normal paint in 2 days, IT’S THE LIME WASH PAINT.
It’s not only that it’s a special technique (which isn’t challenging to do, as it leaves a lot of room for non-precision!), it’s the fact that the paint and primer itself is super thick, like plaster— and as a result, you need to really push against a paint roller or brush to get it to sink into the pores of the wall appropriately. We got 2 gallons of paint (for the necessary 2 coats of color paint) and 1 gallon of the primer, which ended up being a stretch despite having measured the room properly.
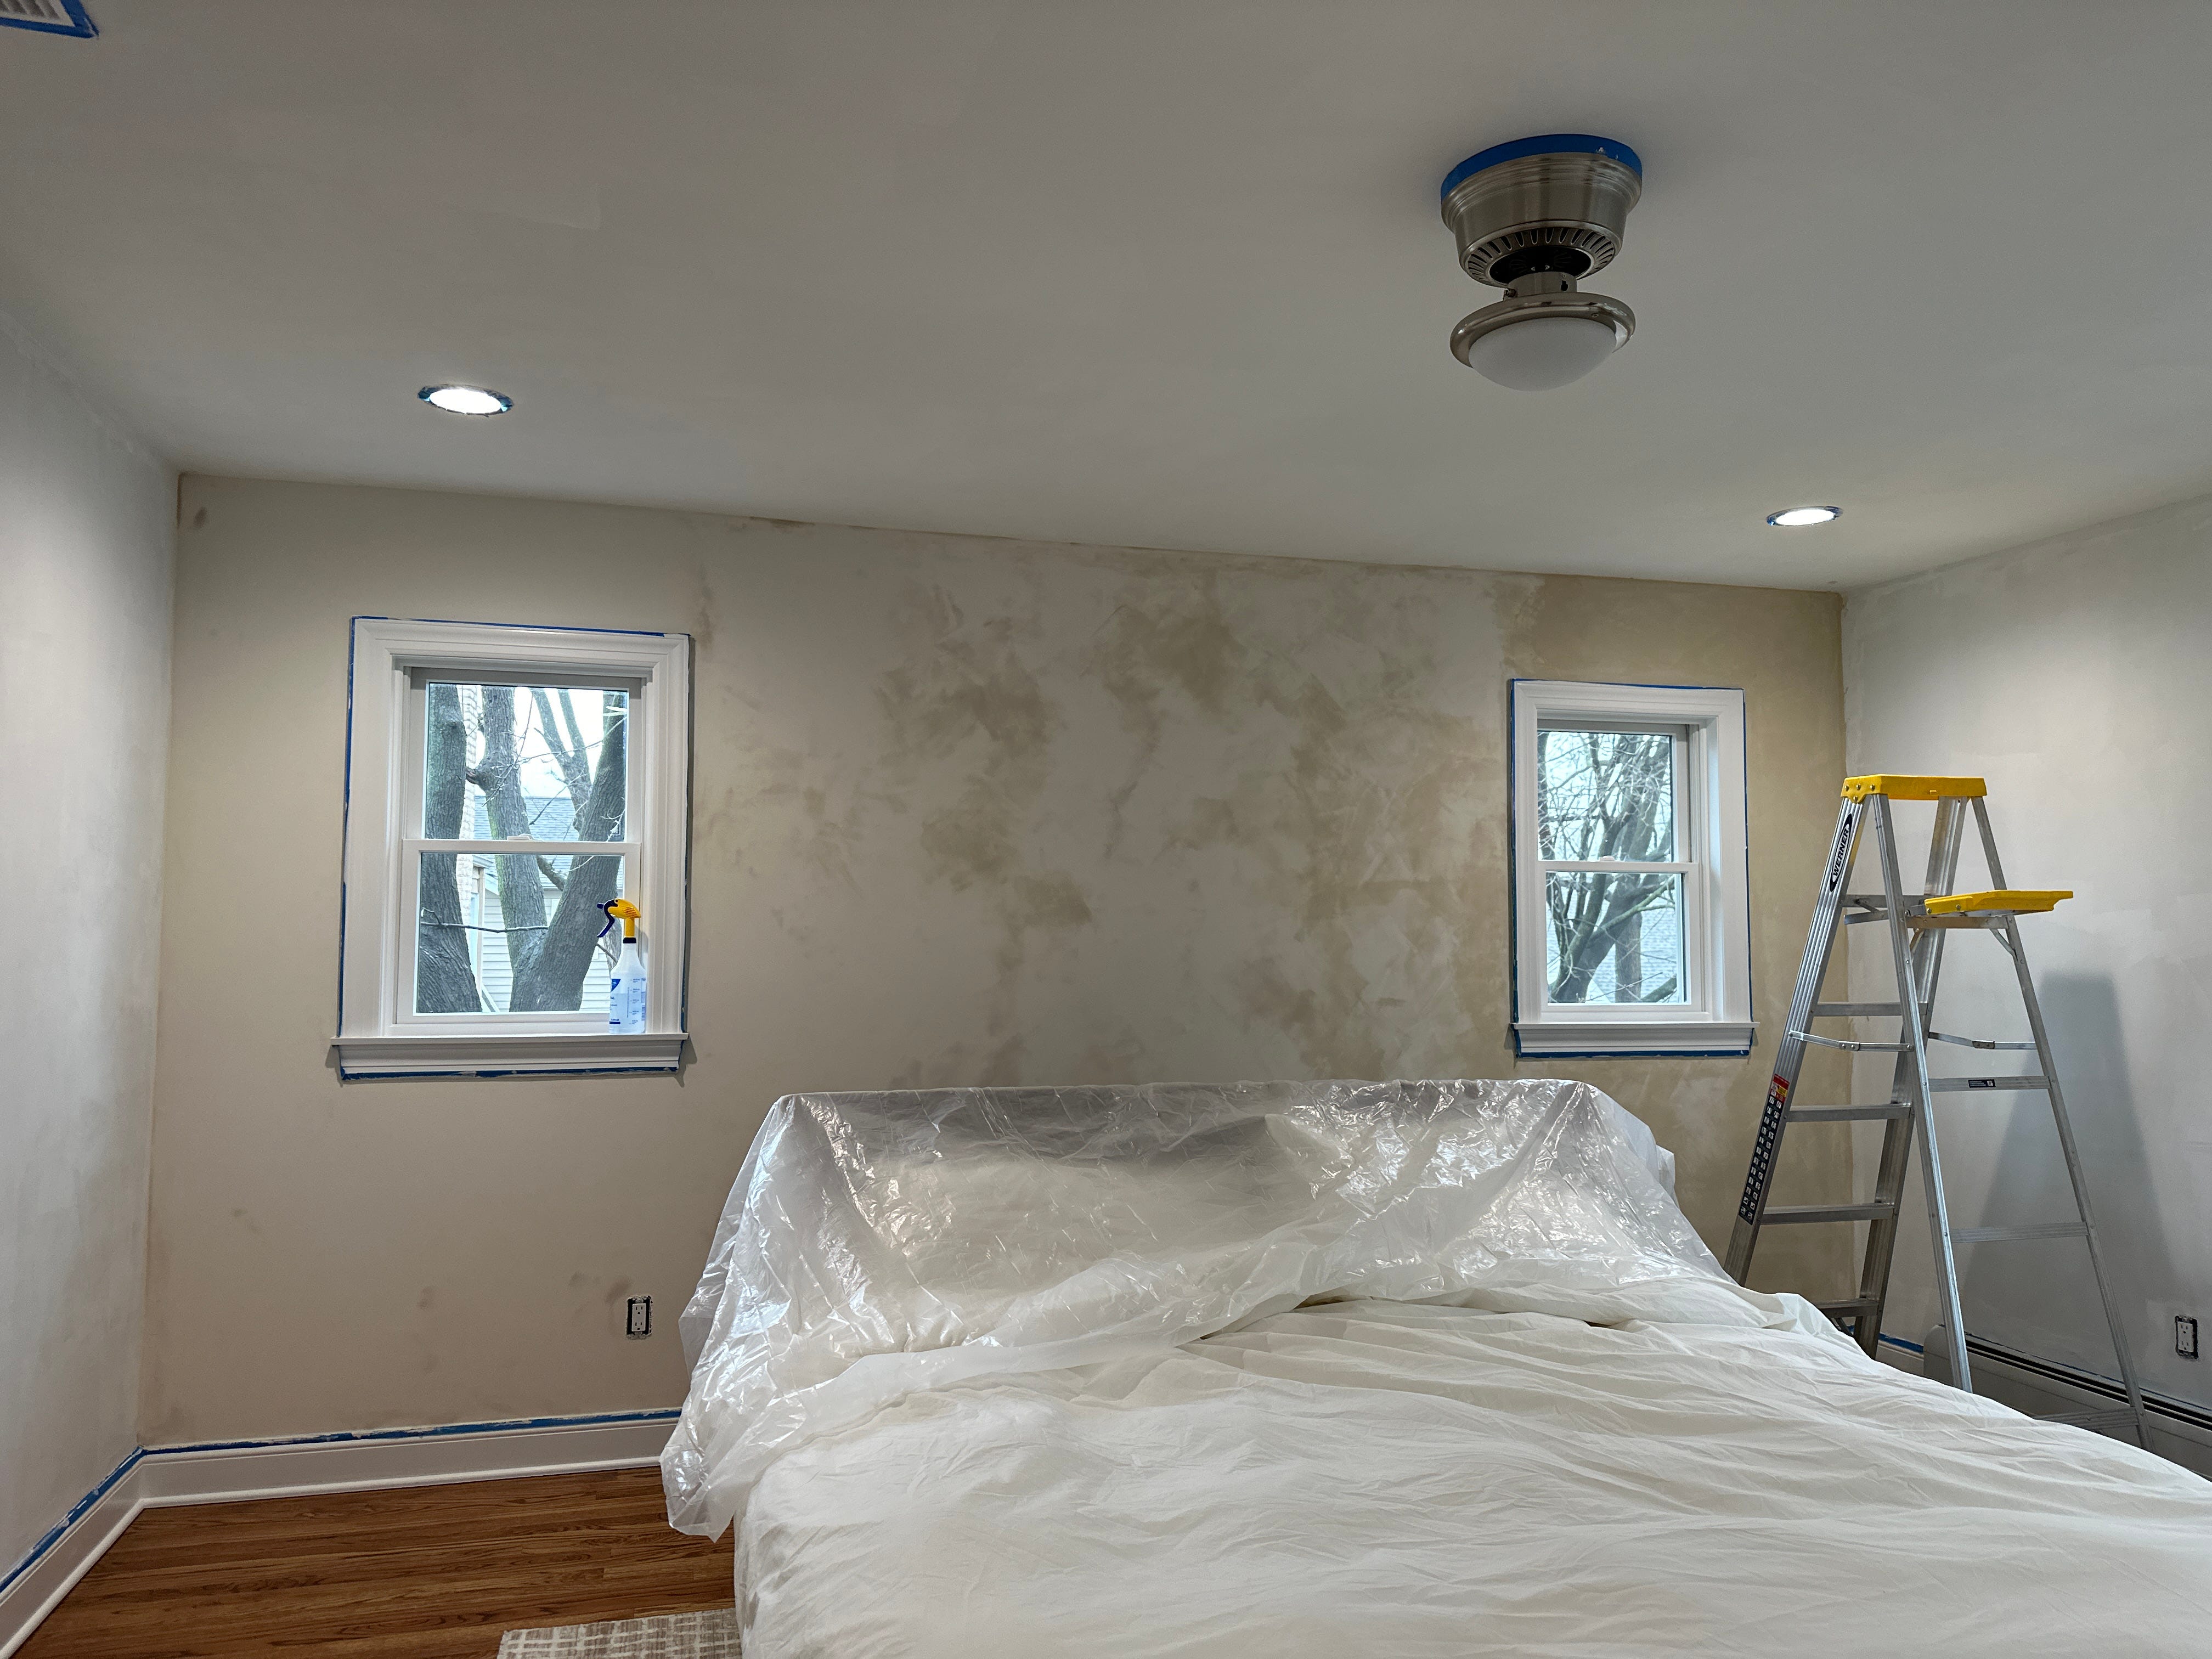
You have to prime the walls with this mineral primer, let it dry overnight, do 1 coat of paint, let it dry overnight, and do the 2nd coat of paint. At minimum, it’s a 3-day process, but it ended up being 4 for us because my arms gave out and J did the ceiling on the weekend (just 1 coat because we were running low on paint, but it ended up looking better than the 2 coats on the other walls…).
Despite my heavy research on YouTube and lime wash paint manufacturers websites, I wish there was more information on just how much you can dilute the paints and customize the texturing of the paint. The plaster-like effect isn’t as visible as I had hoped in the final outcome on the walls, and the color is a few notches warmer than anticipated, so I initially wasn’t thrilled with how things came out— but since then, I’ve grown to really like it.
In the future though, should I decide to get over this paint trauma and do this again, I’d buy a different lime wash paint, buy more paint than I thought I needed, clear my schedule, schedule a massage for immediately afterwards, and definitely only do an accent wall if it’s a room as big as our bedroom (which isn’t even huge, but it definitely felt huge while painting it).
WHICH LIME WASH PAINT WE USED
We were originally looking at J.H. Wall lime paint, but it’s expensive ($110 for a gallon), so we decided to go with Vasari (found at Lowe’s— under $70 for a gallon, we used the ‘Marcona’ color). Given the choice to do it again, I would probably just go with the J.H. Wall, because I wasn’t thrilled with how the Vasari turned out (both color and texture effect), and I think that you do get what you pay for here. Normally I’m quick to see if it’s user-error, but I followed the manufacturer’s instructions to a T, and it did not come out with the desired effect at all— and J’s ultra-diluted ceiling job came out closer to the lime wash effect I wanted, so I wish there had been better instructions on this.
Loving this newsletter? I’d be forever grateful if you subscribe and/or spread the word!
Questions, feedback, thoughts, requests for what you want to hear about in here— just reply to this email to share it all with me.


