


Bonus Issue #04: Our New Kitchen Glow-Up!
Sharing the glow-up we did to our kitchen in the new house for an $800, and all the links for everything.

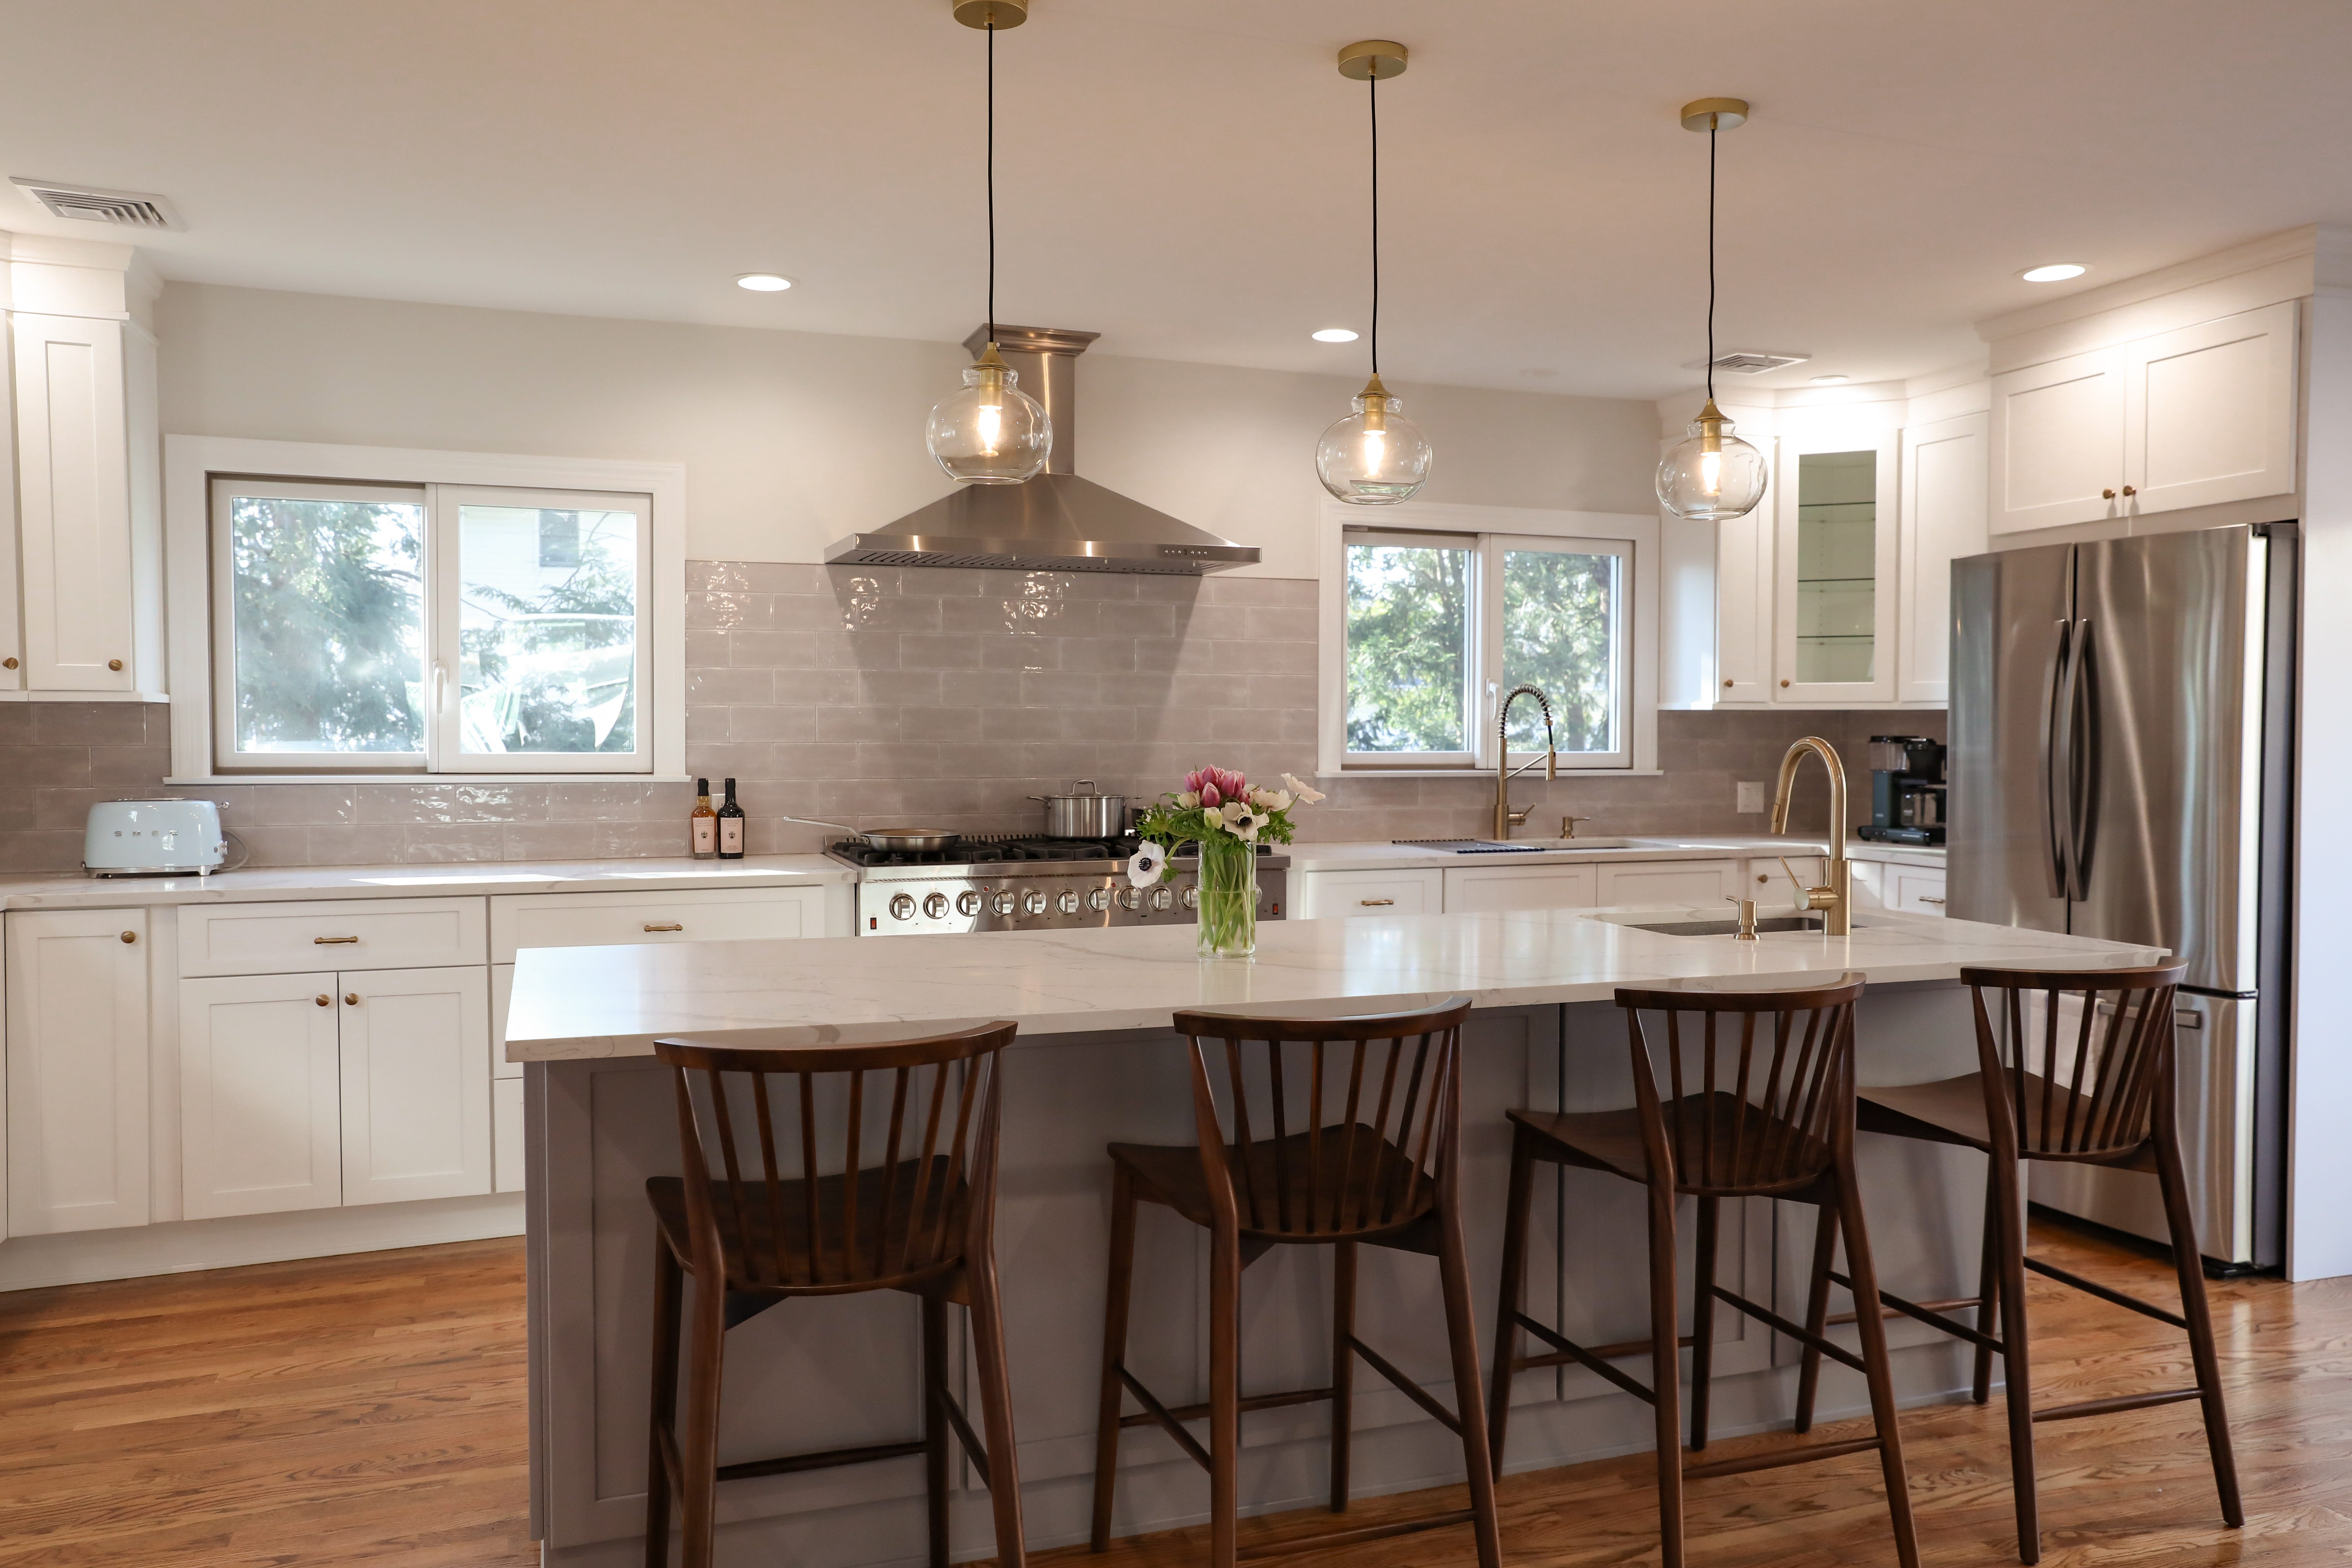
When I first saw the photos of this kitchen in the Zillow listing for our house while (initially, lightly) house-hunting, my eyes nearly popped out of my head as I drank in the spaciousness and layout of the room that I could immediately imagine everything from our loved ones gathering to filming and cooking recipes with my mom in. Big windows facing the back yard, a massive island, TWO sinks, an 8-burner stove top with dual oven, and storage for days, even the sad, low-res real estate photo of this kitchen nearly made me cry.
As J and I started to get closer to closing on this house and having it truly be ours, we started talking about how while it was a dream space, the colors and finishes didn’t really feel like us. We are really looking at this as a long-term home, so we knew we wanted to make the effort to personalizing it in a way we hadn’t done with our previous California house. The brushed nickel finishes and tone of gray cabinetry of the island weren’t my favorite, and the existing pendant lights were… not my cup of tea, to put it nicely.
We have really been on a budget after our home purchase, so I thoroughly evaluated cost before making any purchases. Thankfully, it was time for President’s Day sales, and that helped us SO much, and I don’t think we would have gone ahead with it otherwise— the total cost for the items for the kitchen glow-up (minus the bar stools) was $800, then the bar stools (furniture we would have needed regardless of a makeover) for $750 total for 4.

Refinishing cabinets? Not so simple.
I started looking into how difficult it would be to repaint the cabinets ourselves before all of our stuff arrived with the movers (painting is always easier in an emptier space), because in my Architectural Digest dreams for a kitchen, I’d love to bring some richer colors and warmth into the room. After extensive online research and talking to my in-laws (my FIL is a contractor and my MIL is very well-versed in home projects), it turns out that refinishing your existing cabinets can be super tricky and not be worth the time and money— because cabinetry is often made from a variety of materials and the finishes, it’s not as simple as putting new paint over solid wood that’s been painted. So, even if you have it professionally refinished, it often wears away poorly in a matter of years.
After abandoning the cabinet paint route, I went down a rabbit hole of shopping for cabinet hardware, pendant lights, faucets, and what kind of barstools would work with the island. It felt like a fine balance between working with the existing space and pre-set colors (like the backsplash tile, stainless steel appliances, and cabinet colors), while trying to choose updates that would actually have enough of an effect to be worth the change.
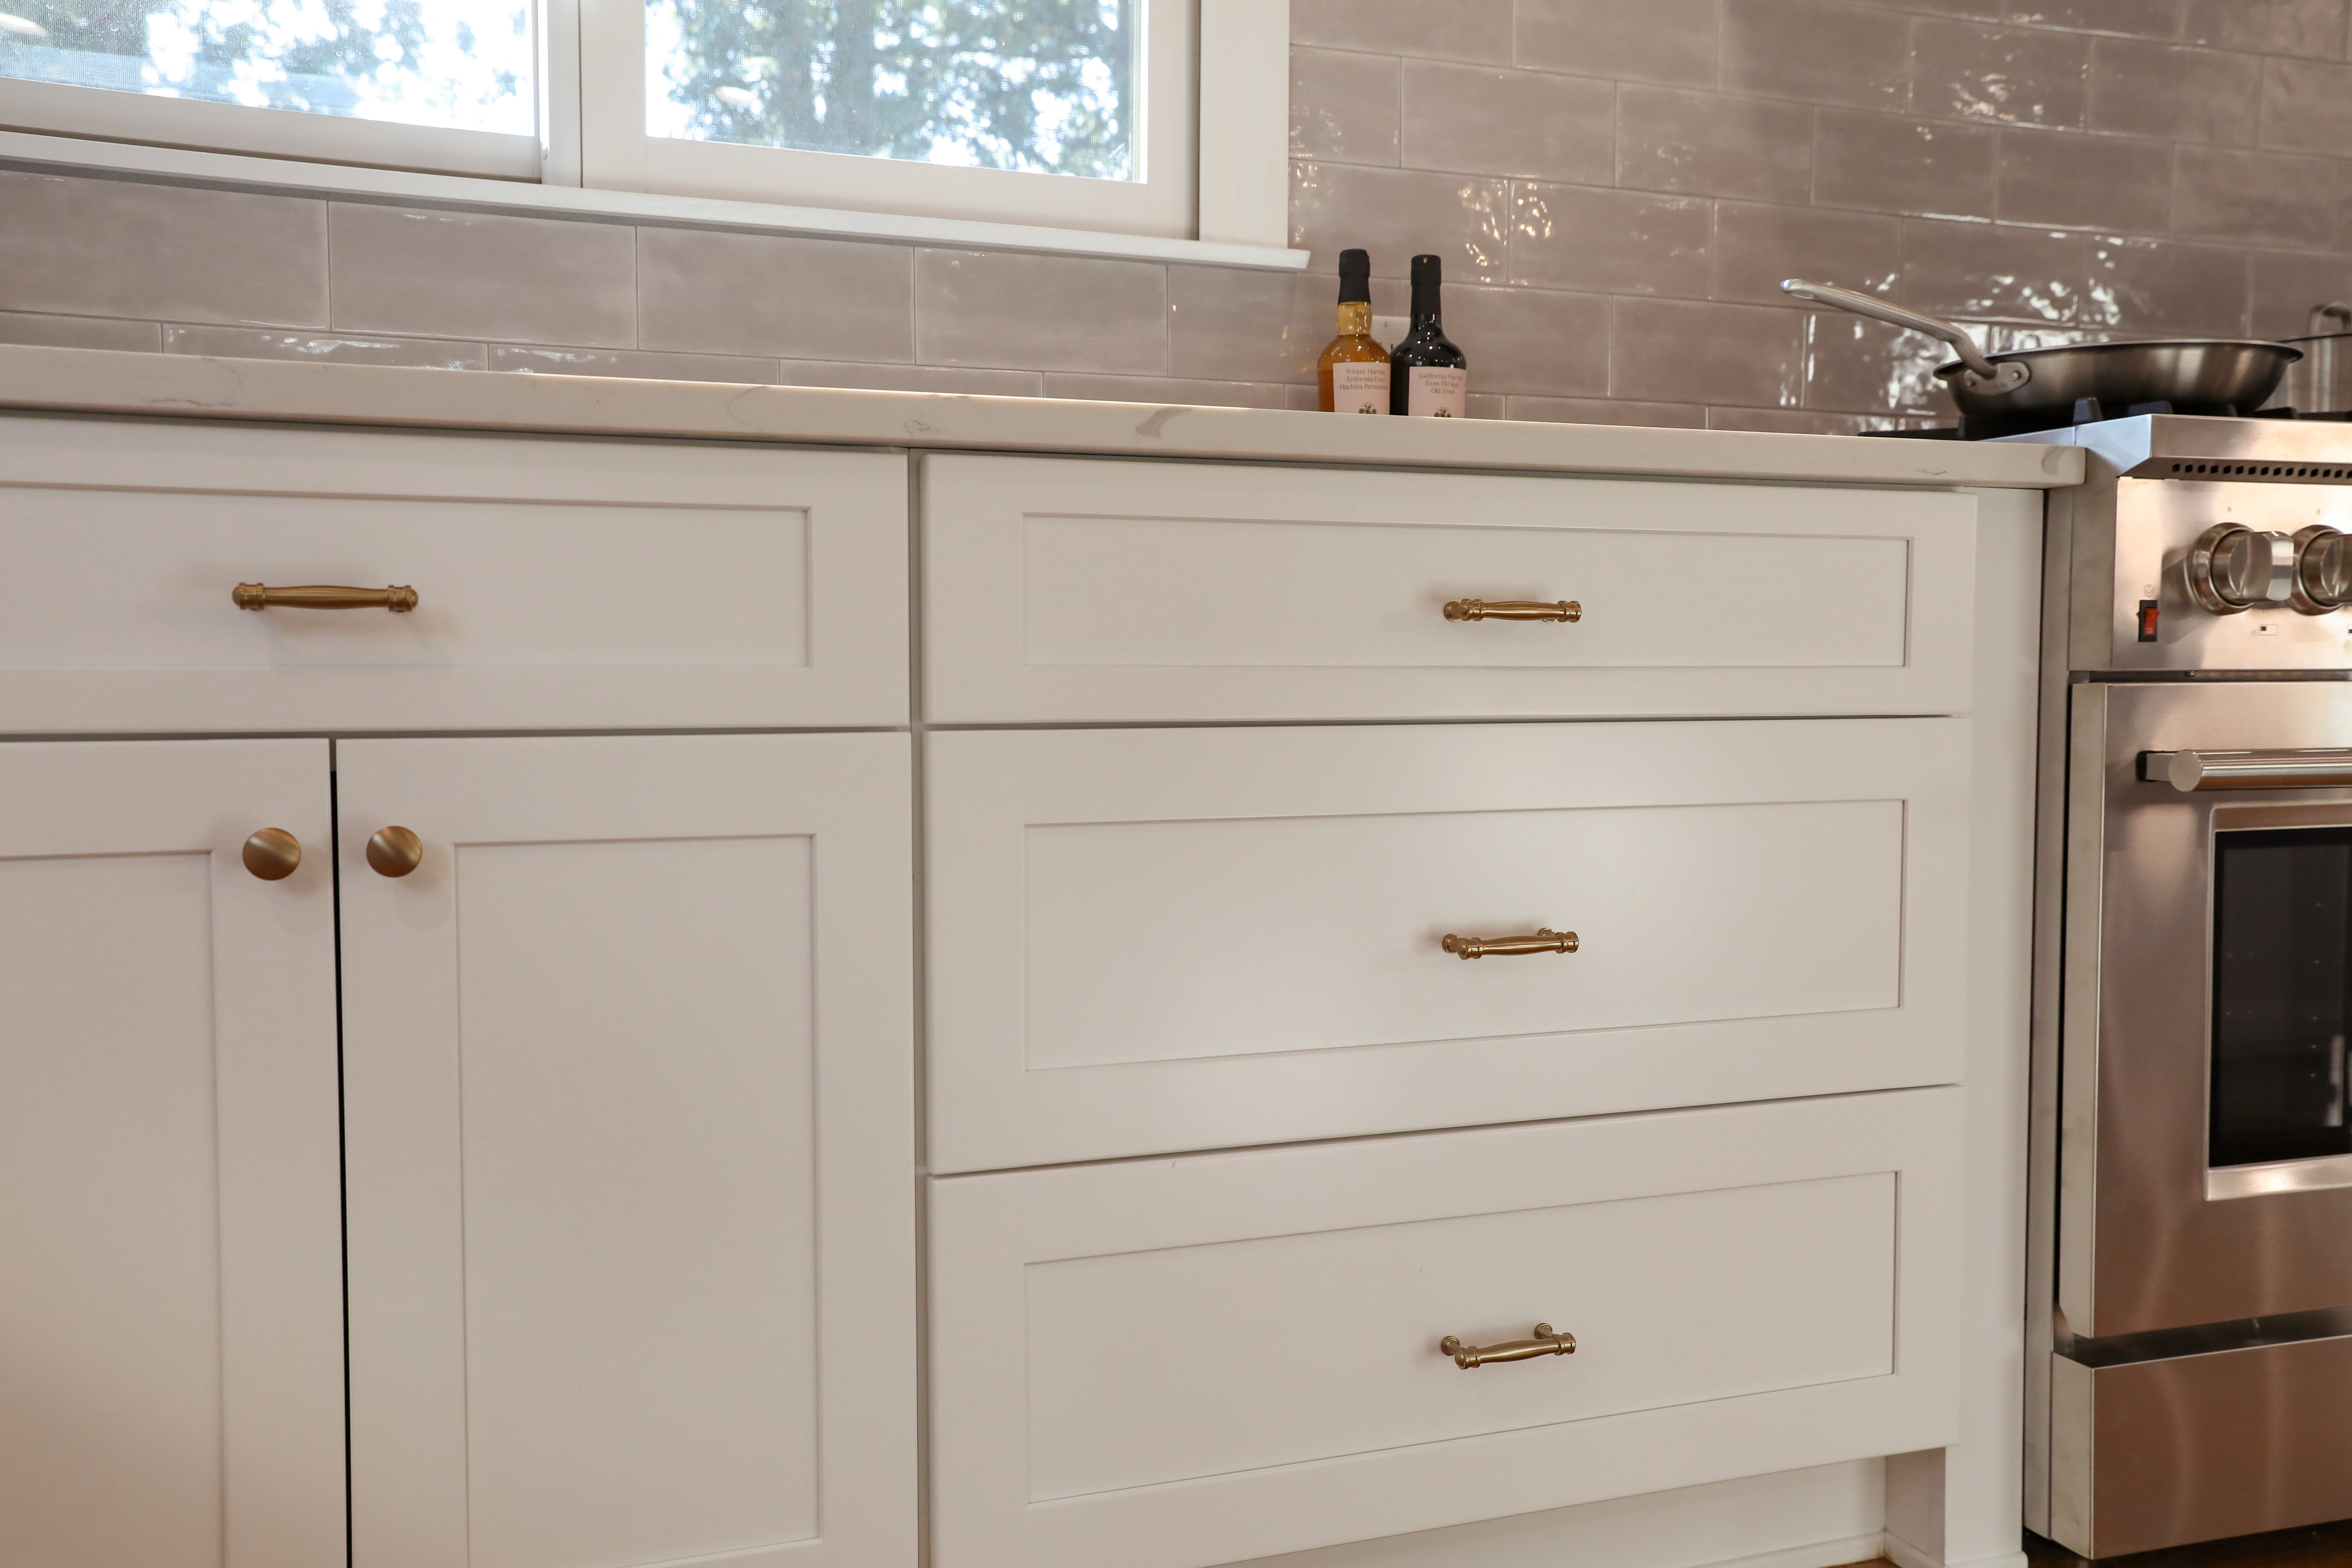
Hardware
Easiest thing to do, for SURE, is switch out your cabinetry hardware! I leapt on President’s Day sales for this.
We wanted to warm up the kitchen from all the gray and silver tones, and to create a little more character in the space, rather than it looking so sterile and modern-leaning. I knew I wanted handle pulls (rather than the existing cup-style pull), because when I’m flying around the kitchen cooking, that’s what feels intuitive for me to grab and go.
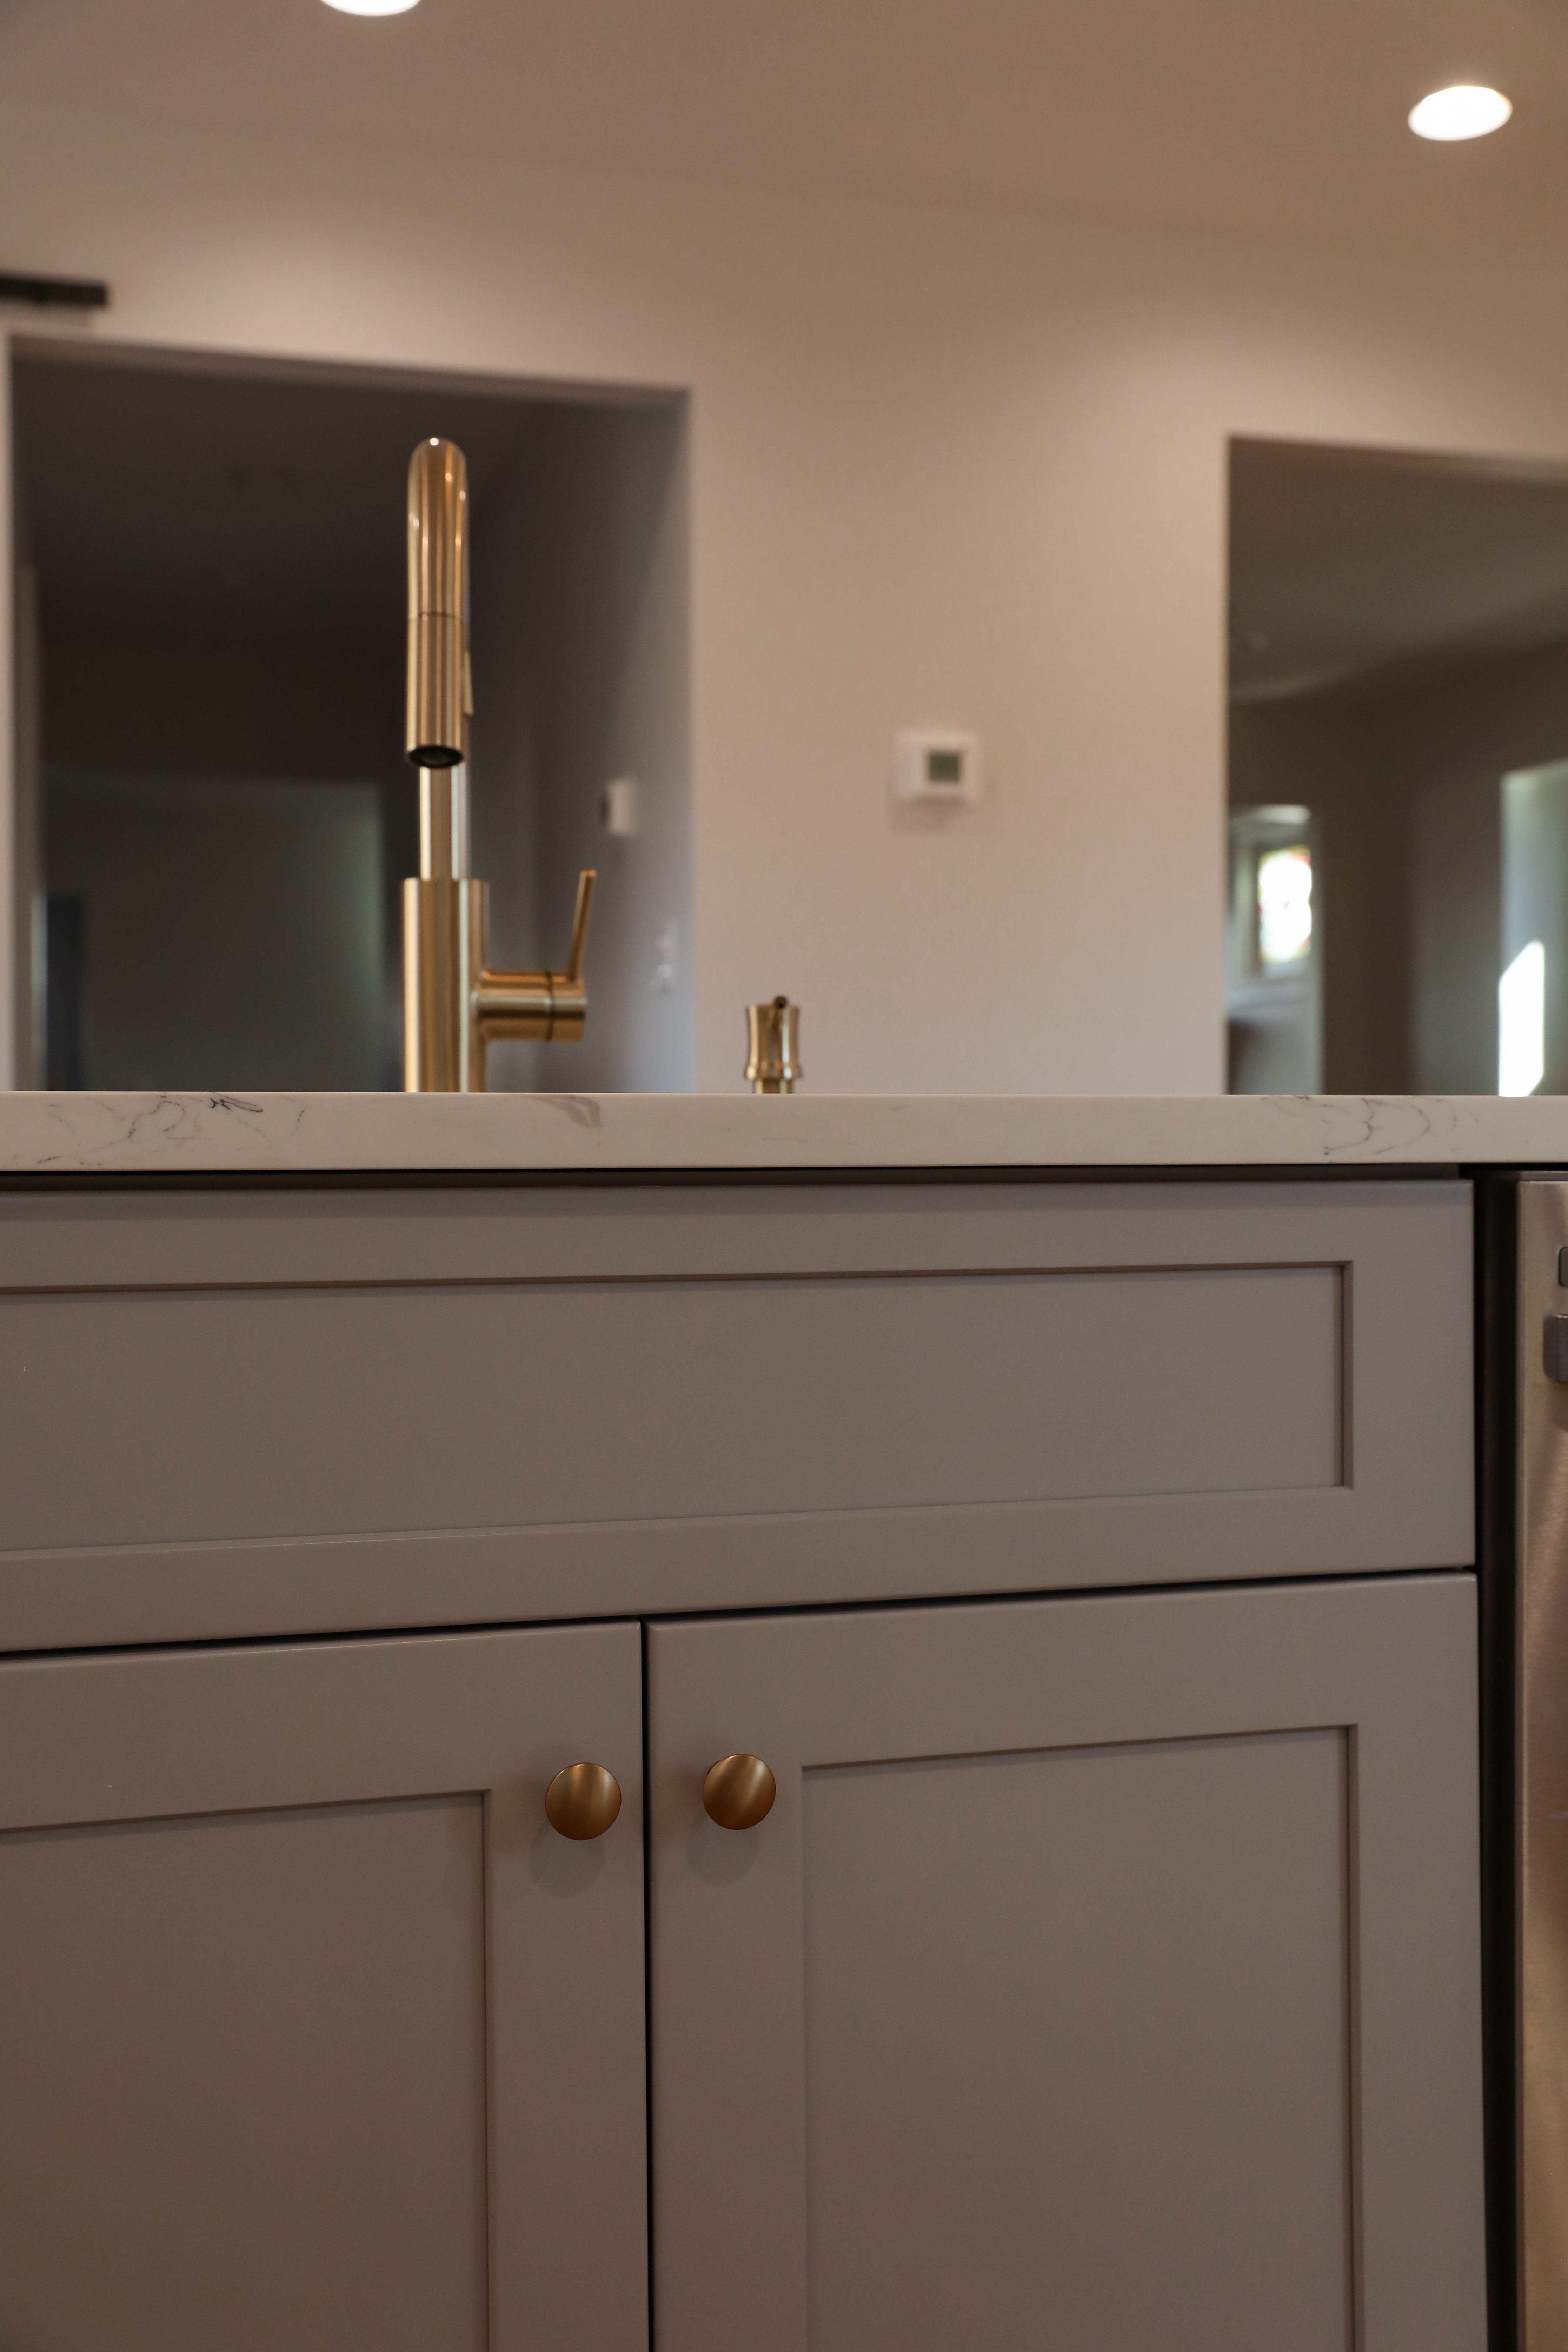
While I’d love some beautiful hardware on my wishlist from Restoration Hardware, I found these antique-style champagne bronze-colored brass pulls and coordinating knobs on a BUDGET— I was super pleasantly surprised by the weighty feel and quality to them in person for the price-point. The other nit-picky thing is that we had to go with the 3” pulls because of the pre-drilled holes that existed from the previous hardware, but for the size of those larger drawers, I would have definitely preferred the 5” pulls for a better proportion.
I was also a teensy bit concerned about how the color would go with the grey-tone cabinets (because it definitely depends on the warmth tone of grey), but now I actually like that pairing even more than the hardware on the white cabinets!
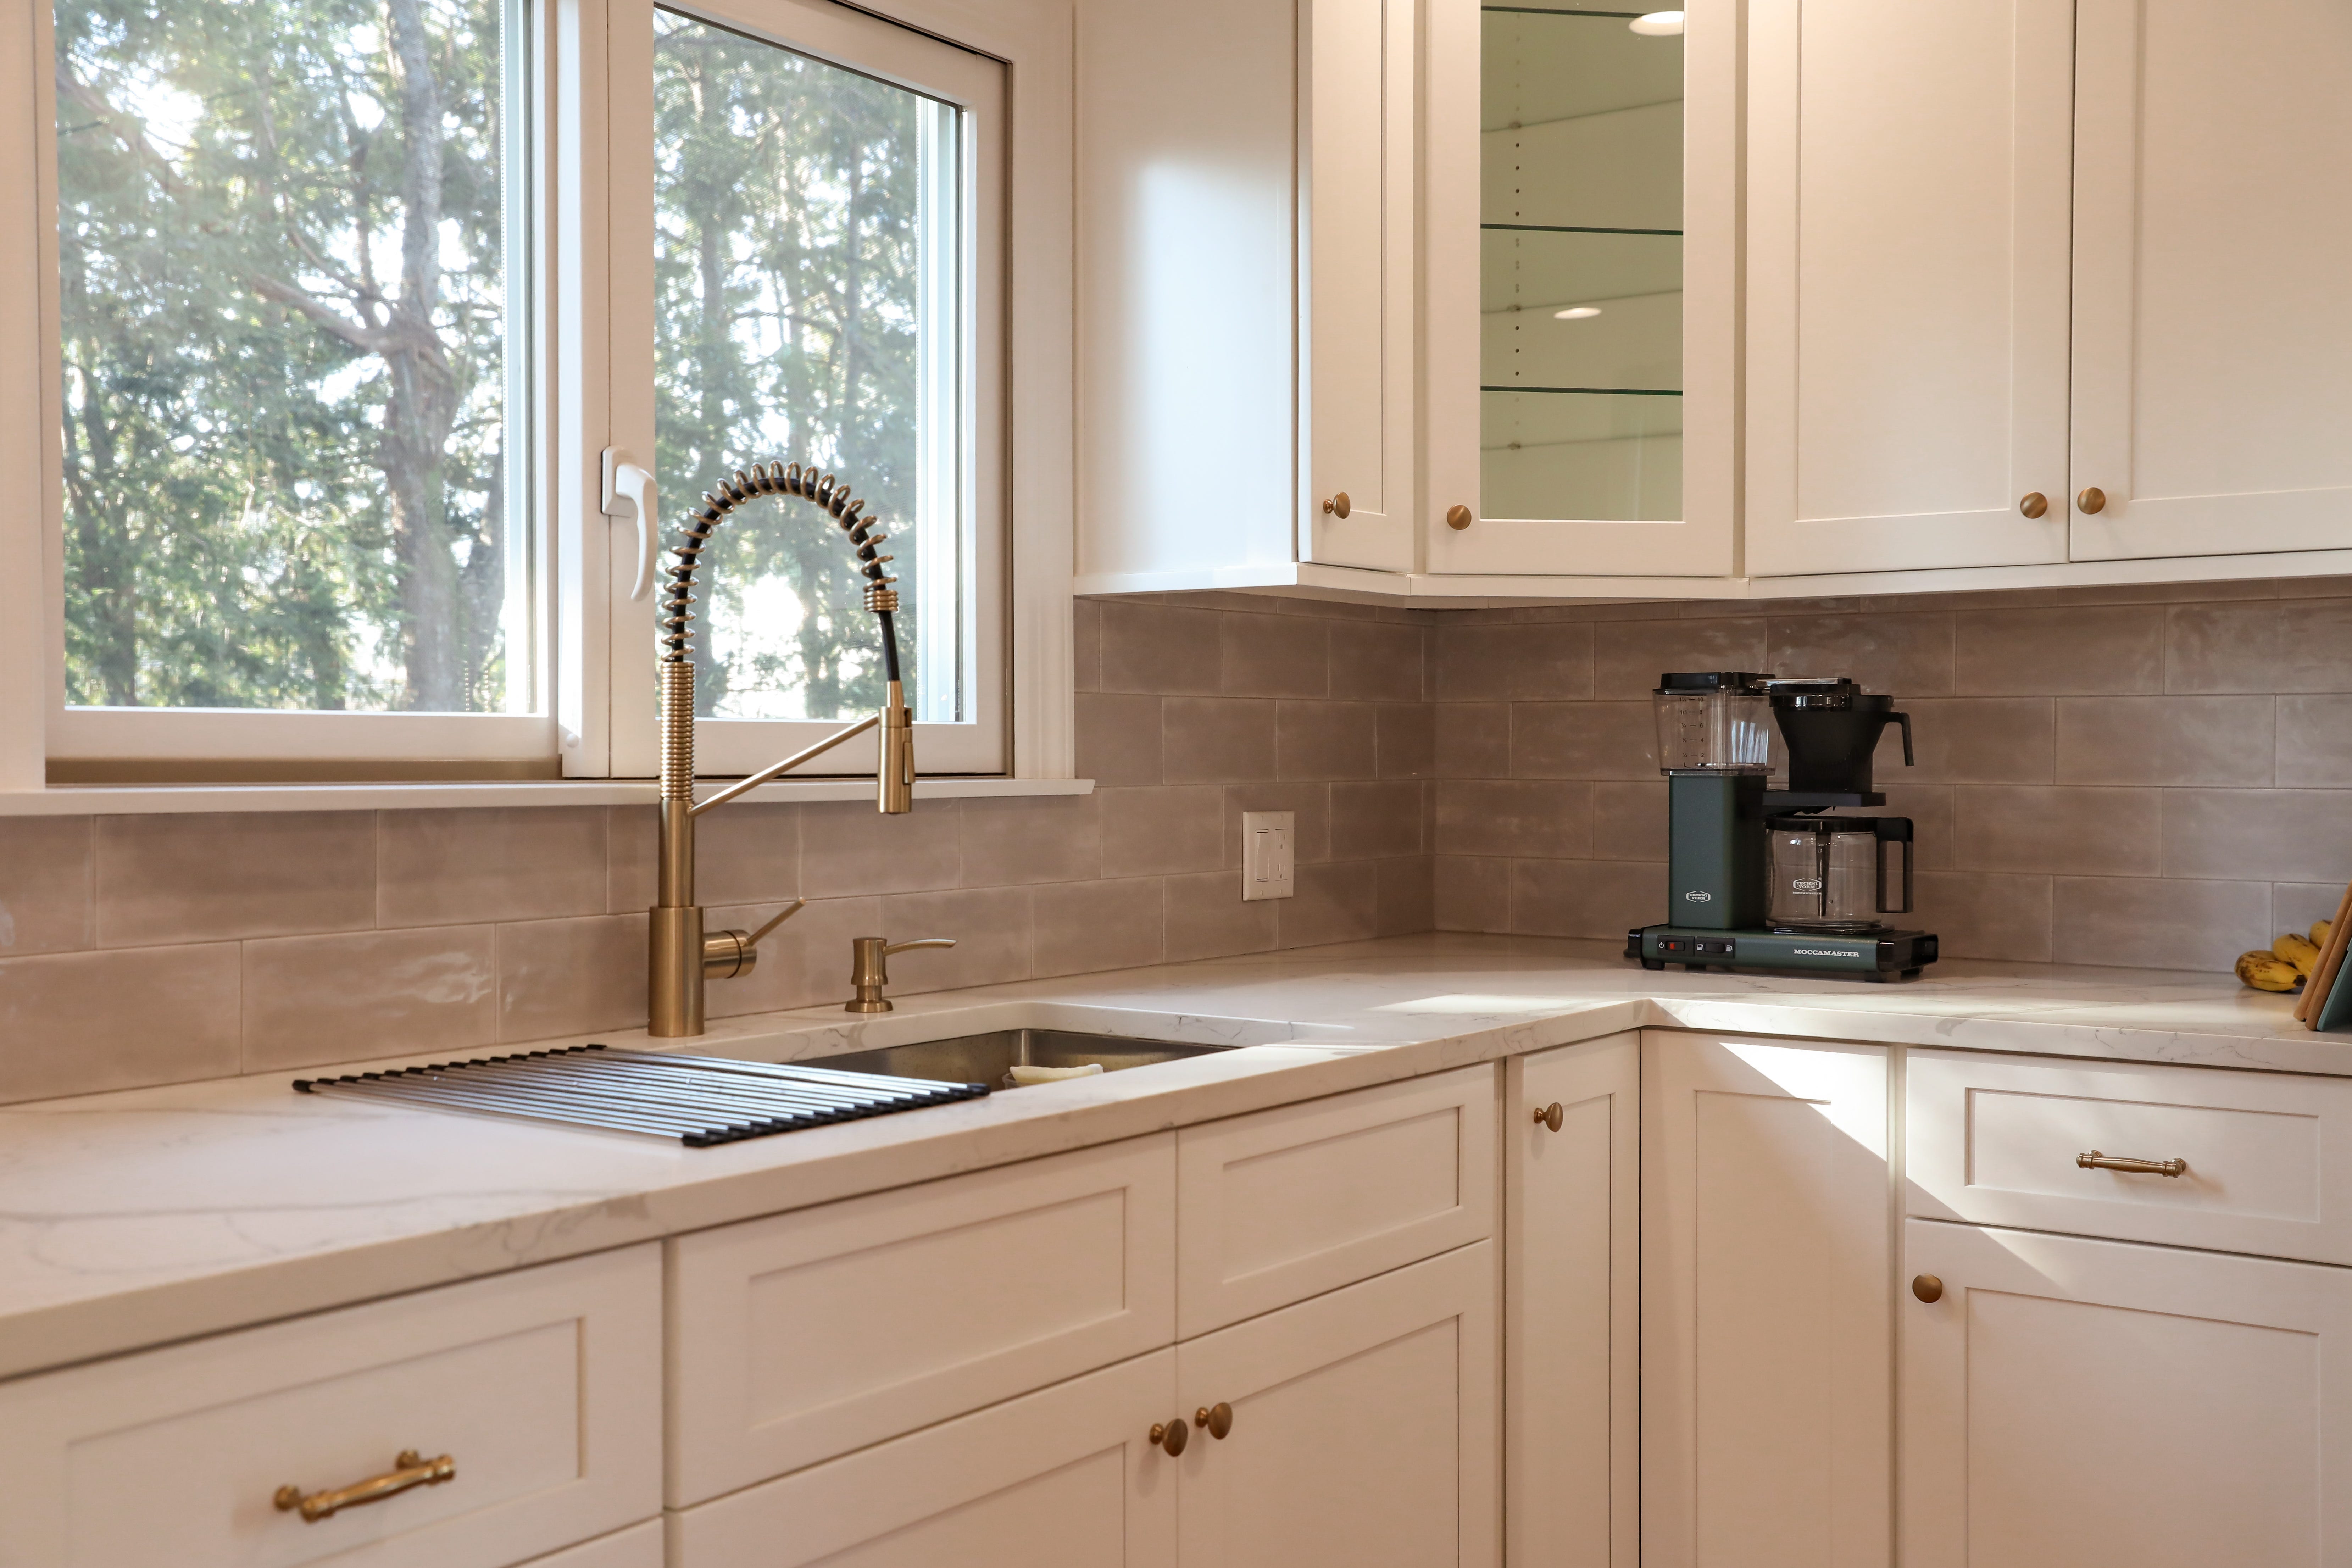
Faucets
Because we were swapping out the hardware, it only made sense to swap out the faucets to match— but first, I had to budget that out to see if all of it made sense, because faucets aren’t cheap and we would have TWO to replace (plus cost of installation, because while I might be cosplaying Bob the Builder, I was not feeling up for that one). Once again, my eyes were locked into some beautiful Kohler faucets (like this one from their collaboration with Studio McGee, but alas, $800-$1000 a pop), but that was not in our budget after being millennial home-buyers.
I found these dupes from a brand that we had back in our California house (and it held up fairly well after 2 years of constant use and horribly hard water), so we went with this larger industrial-style pull down faucet for the sink near the window, and this simpler pull down faucet for the sink in the island, both in the champagne bronze finish. They were on crazy sale for President’s Day (they still are on sale now, just not as steep) and we scored both for under $450 total. Because of the pre-drilled holes for soap dispensers, we got those too in the matching champagne bronze finishes.
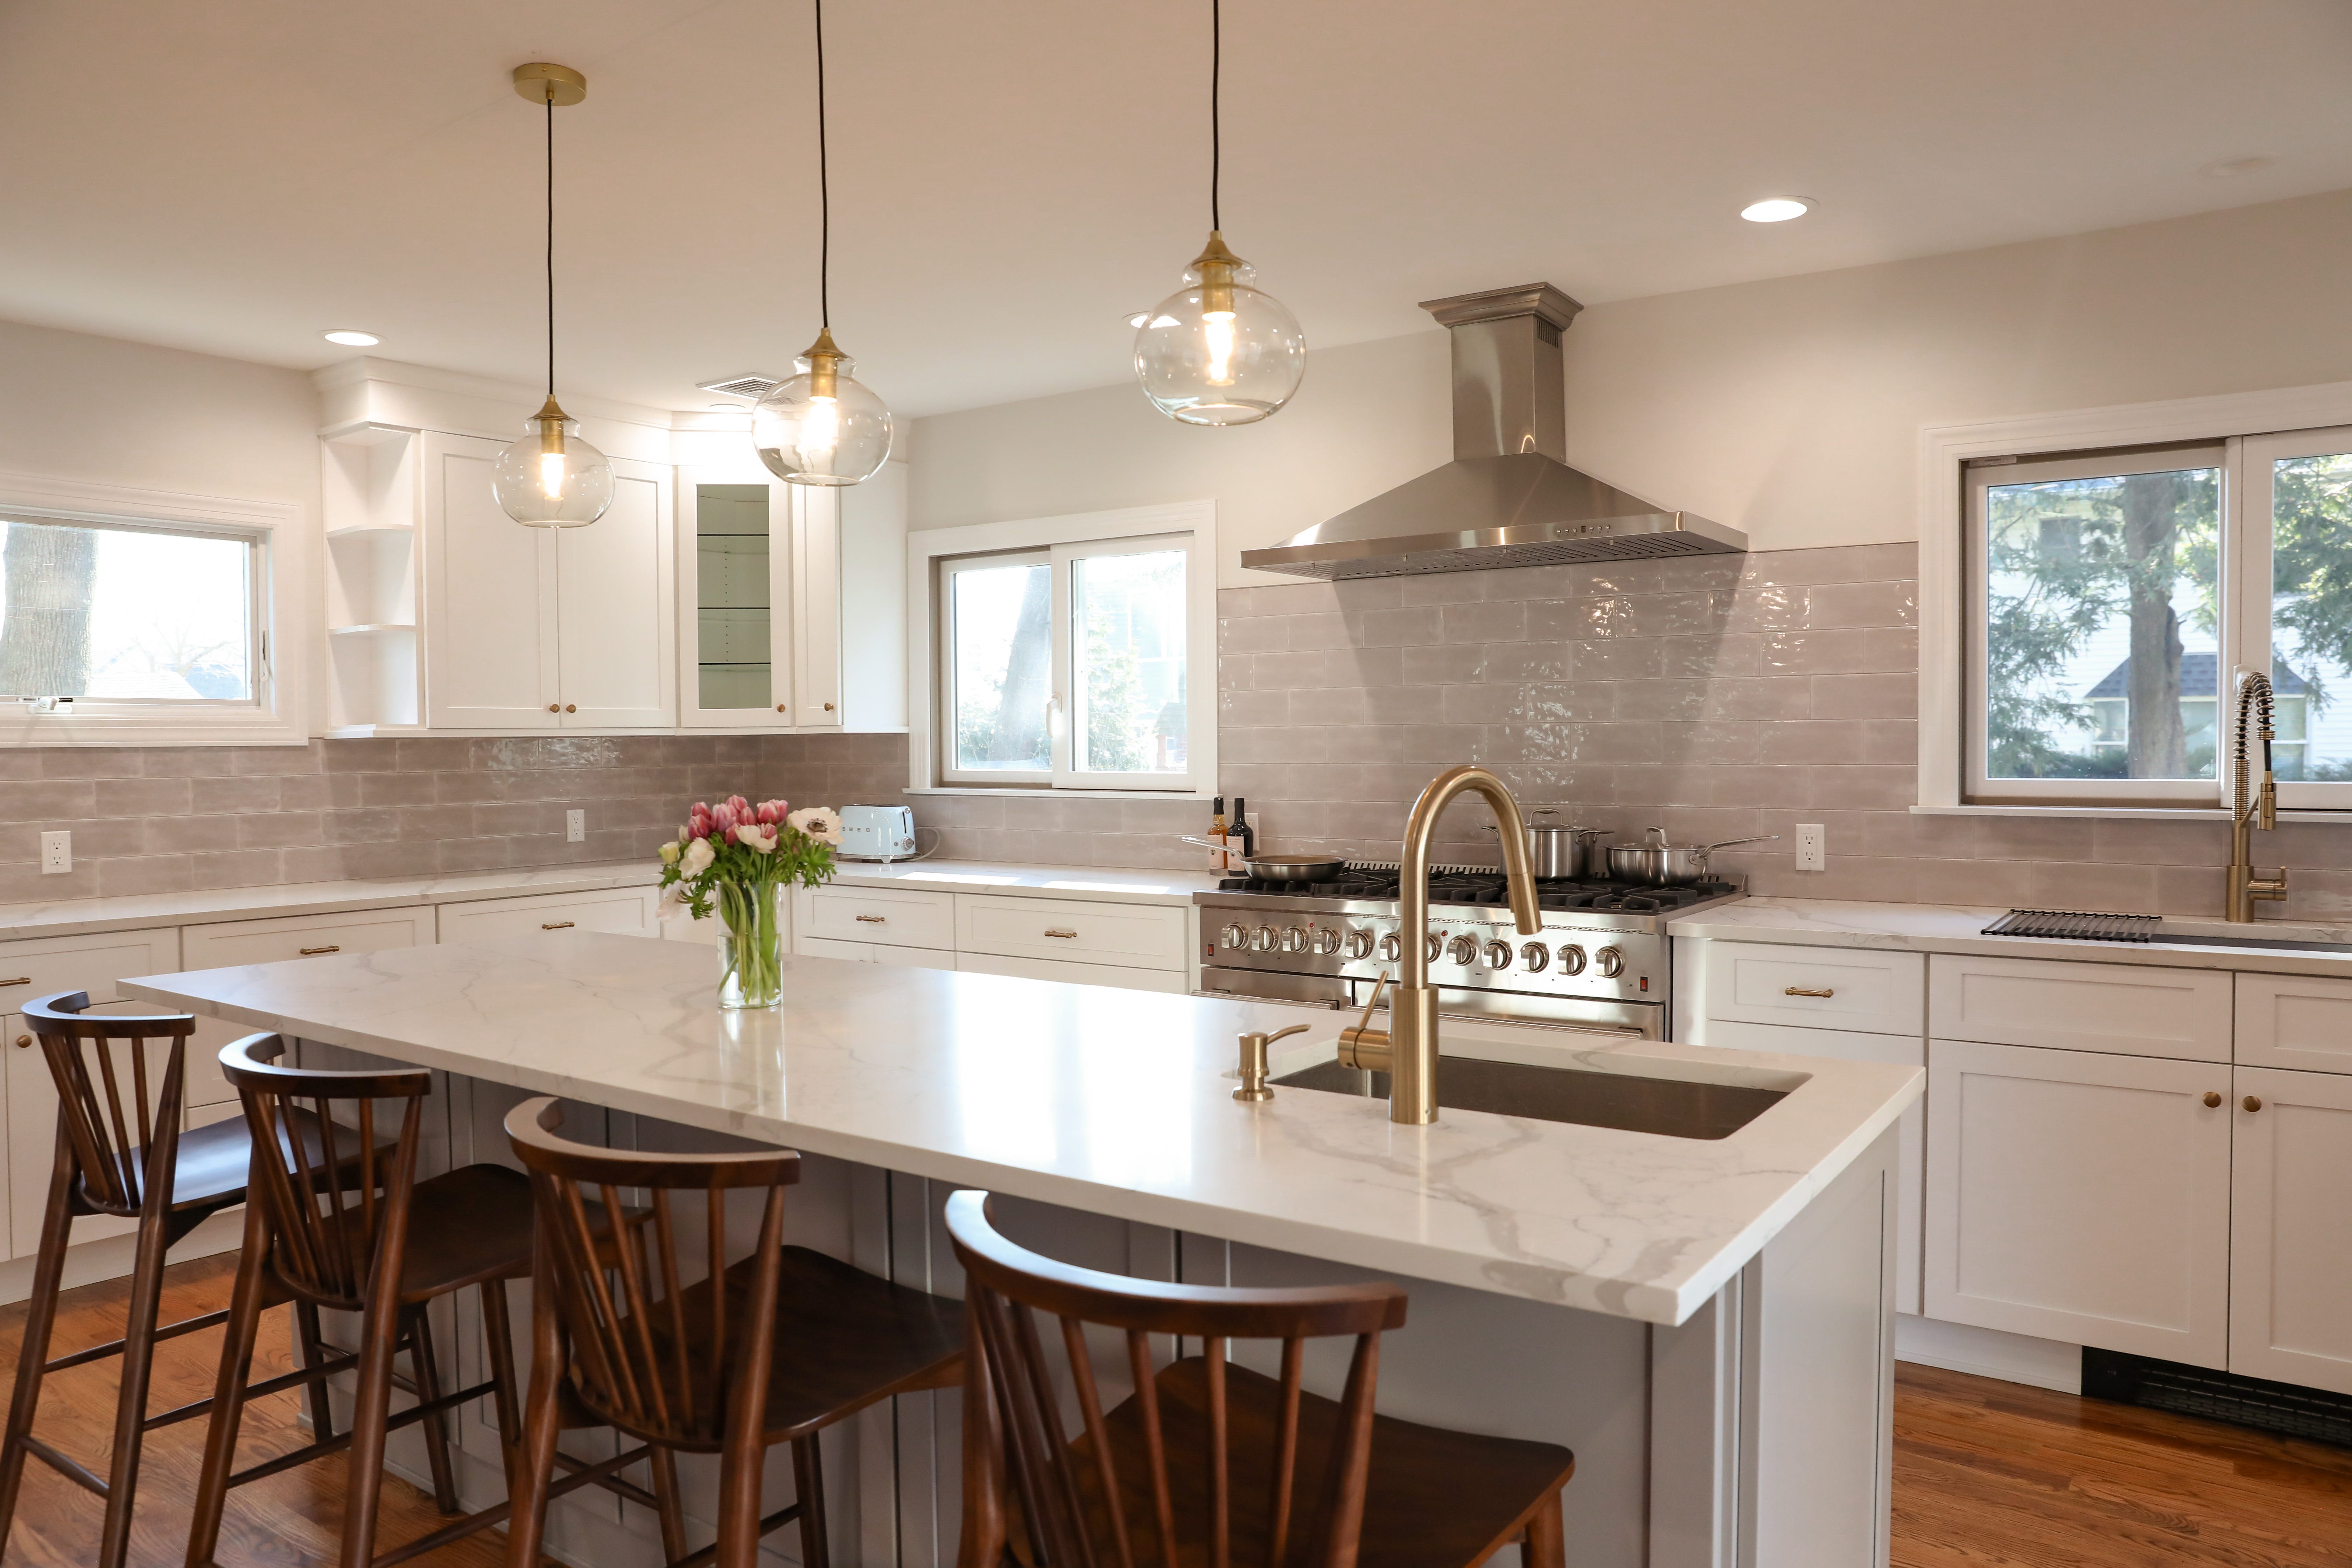
Pendant lights above the island

Off Wayfair, where I got everything else, I also found these simple pendant lights (they’re still $49 each, what I paid for them!) that felt in perfect flow with the hardware changes. I was fully intending to get an electrician to do this, but with costs adding up and the cost of house services these days, I started watching YouTube tutorials (I liked this one, this guy felt like such a nice dad) to see if I felt comfortable tackling this myself. After being very nervous about electrocuting myself and sending J out to Lowe’s again for a few more tools (including a voltage tester, which I highly recommend even if you’re turning off the circuits and power), I discovered that it wasn’t actually too hard at all! It was so satisfying to get this project done by ourselves, and it looks SO MUCH BETTER.
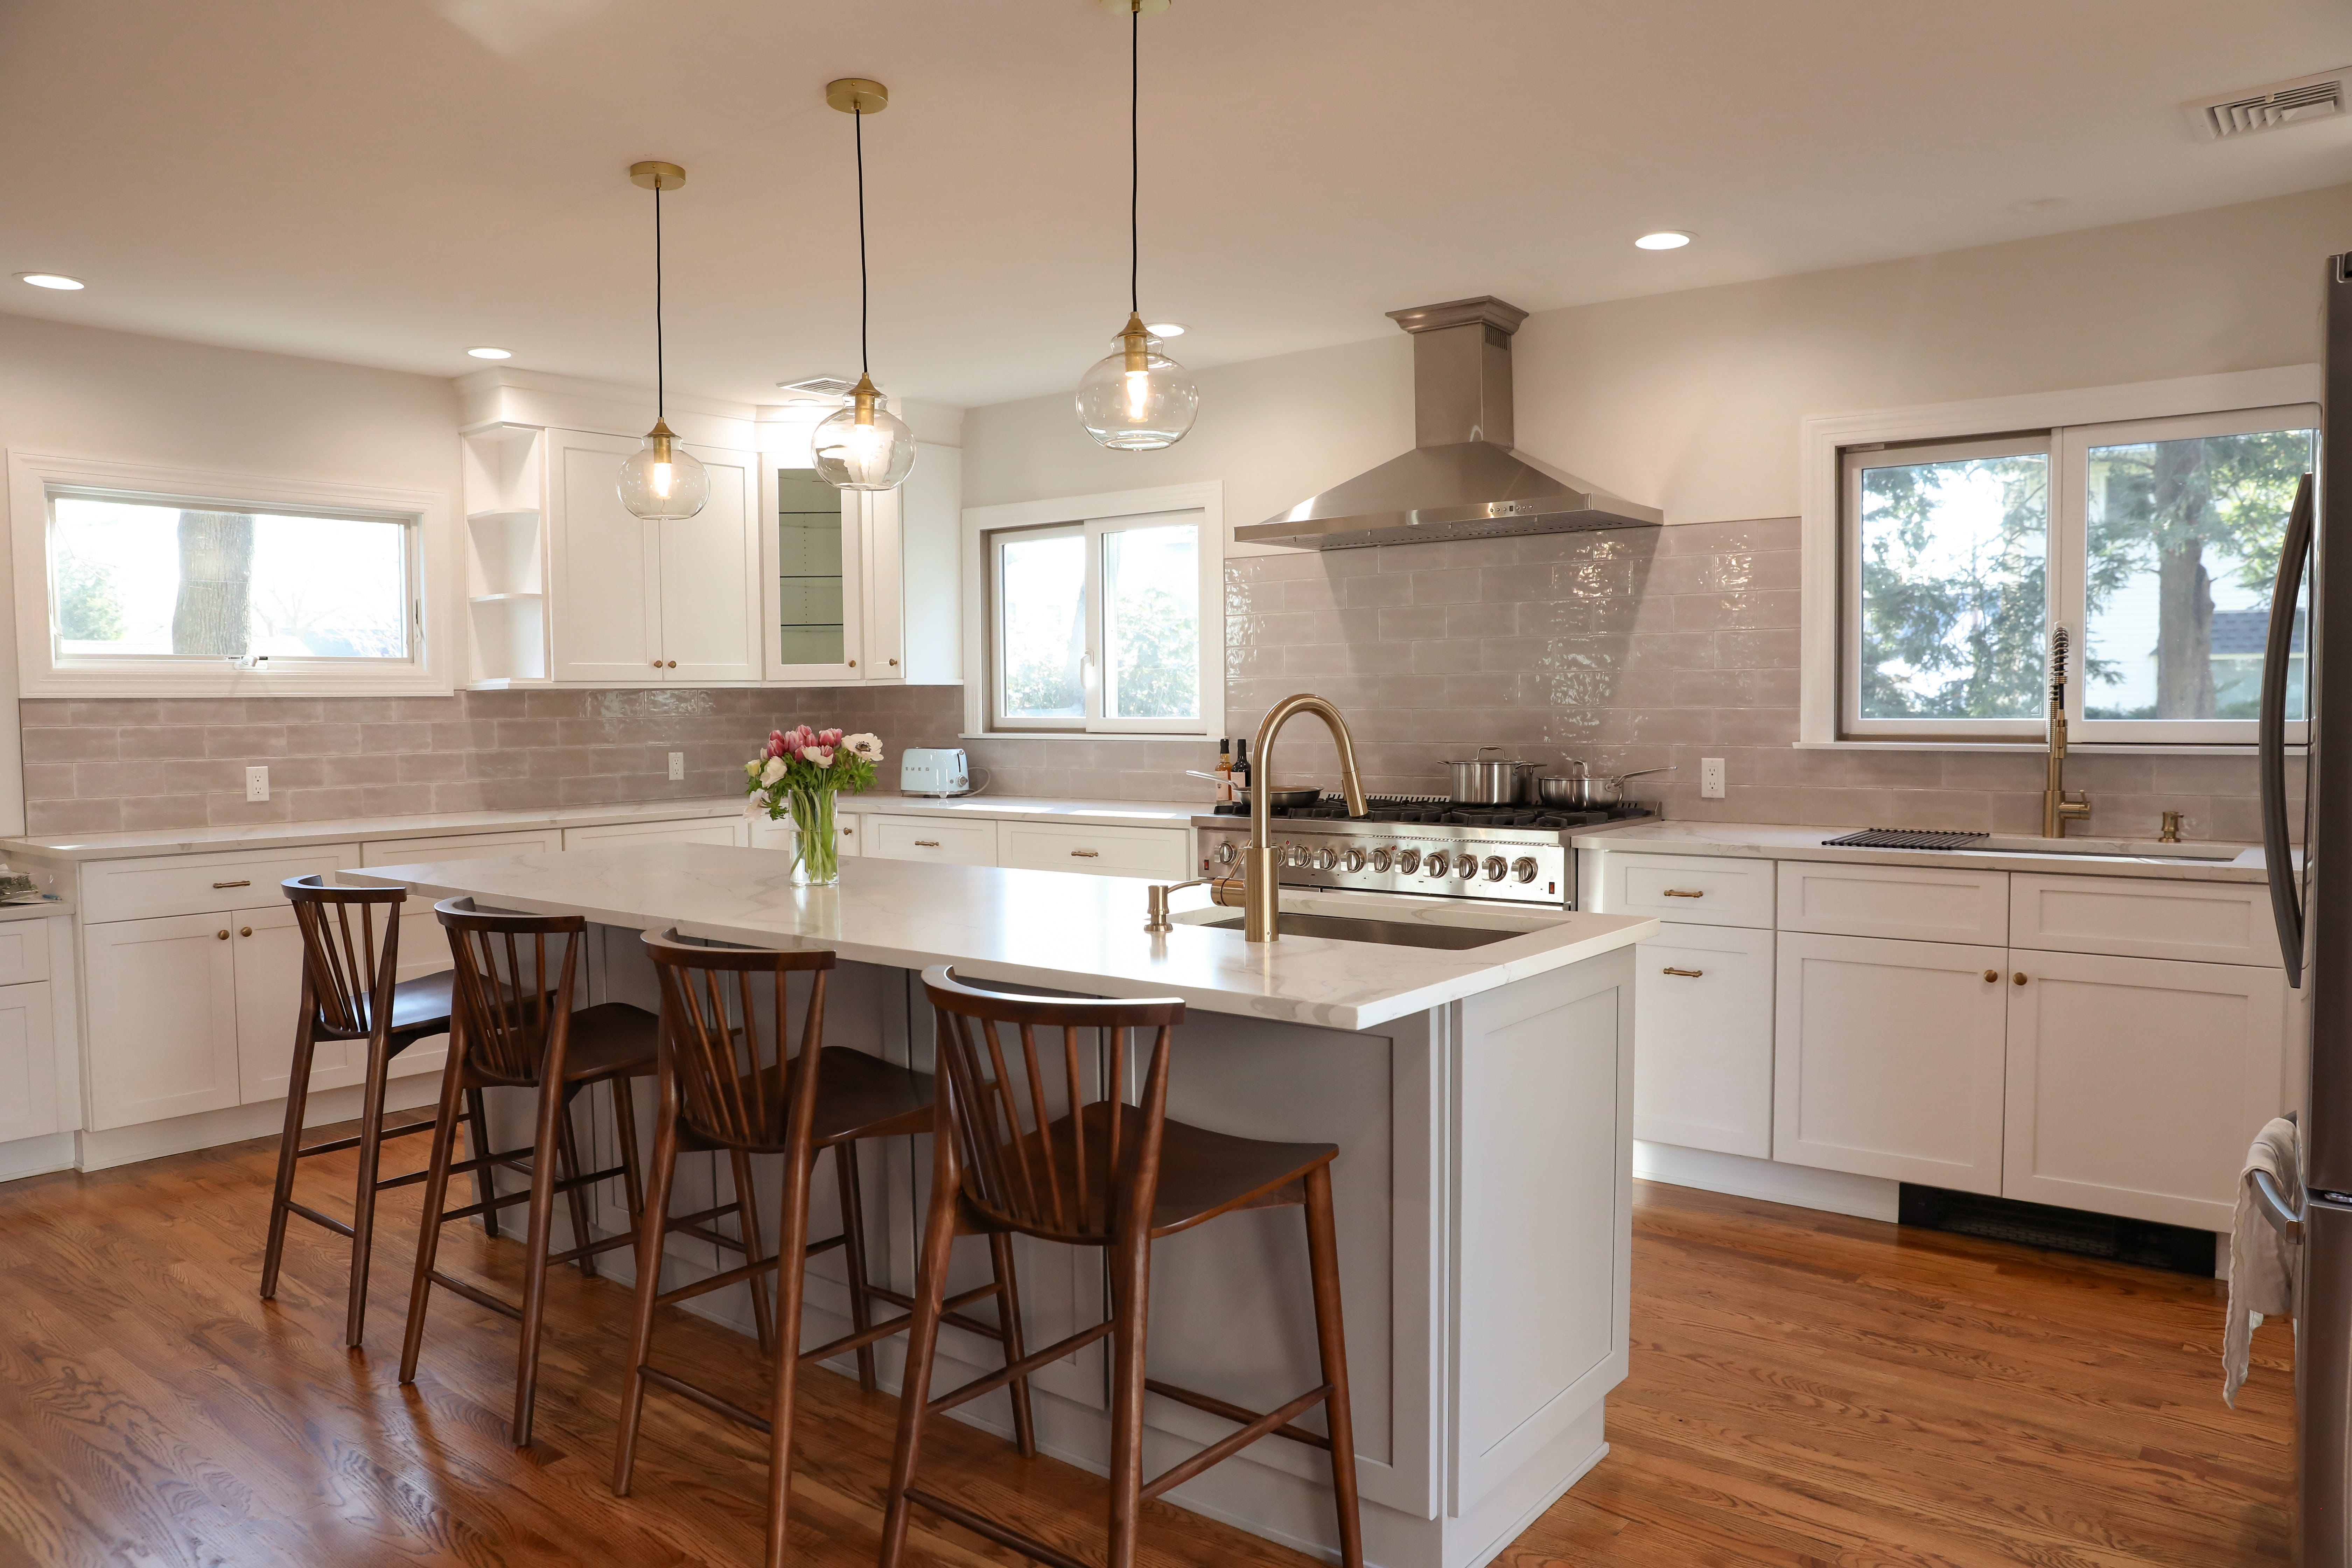
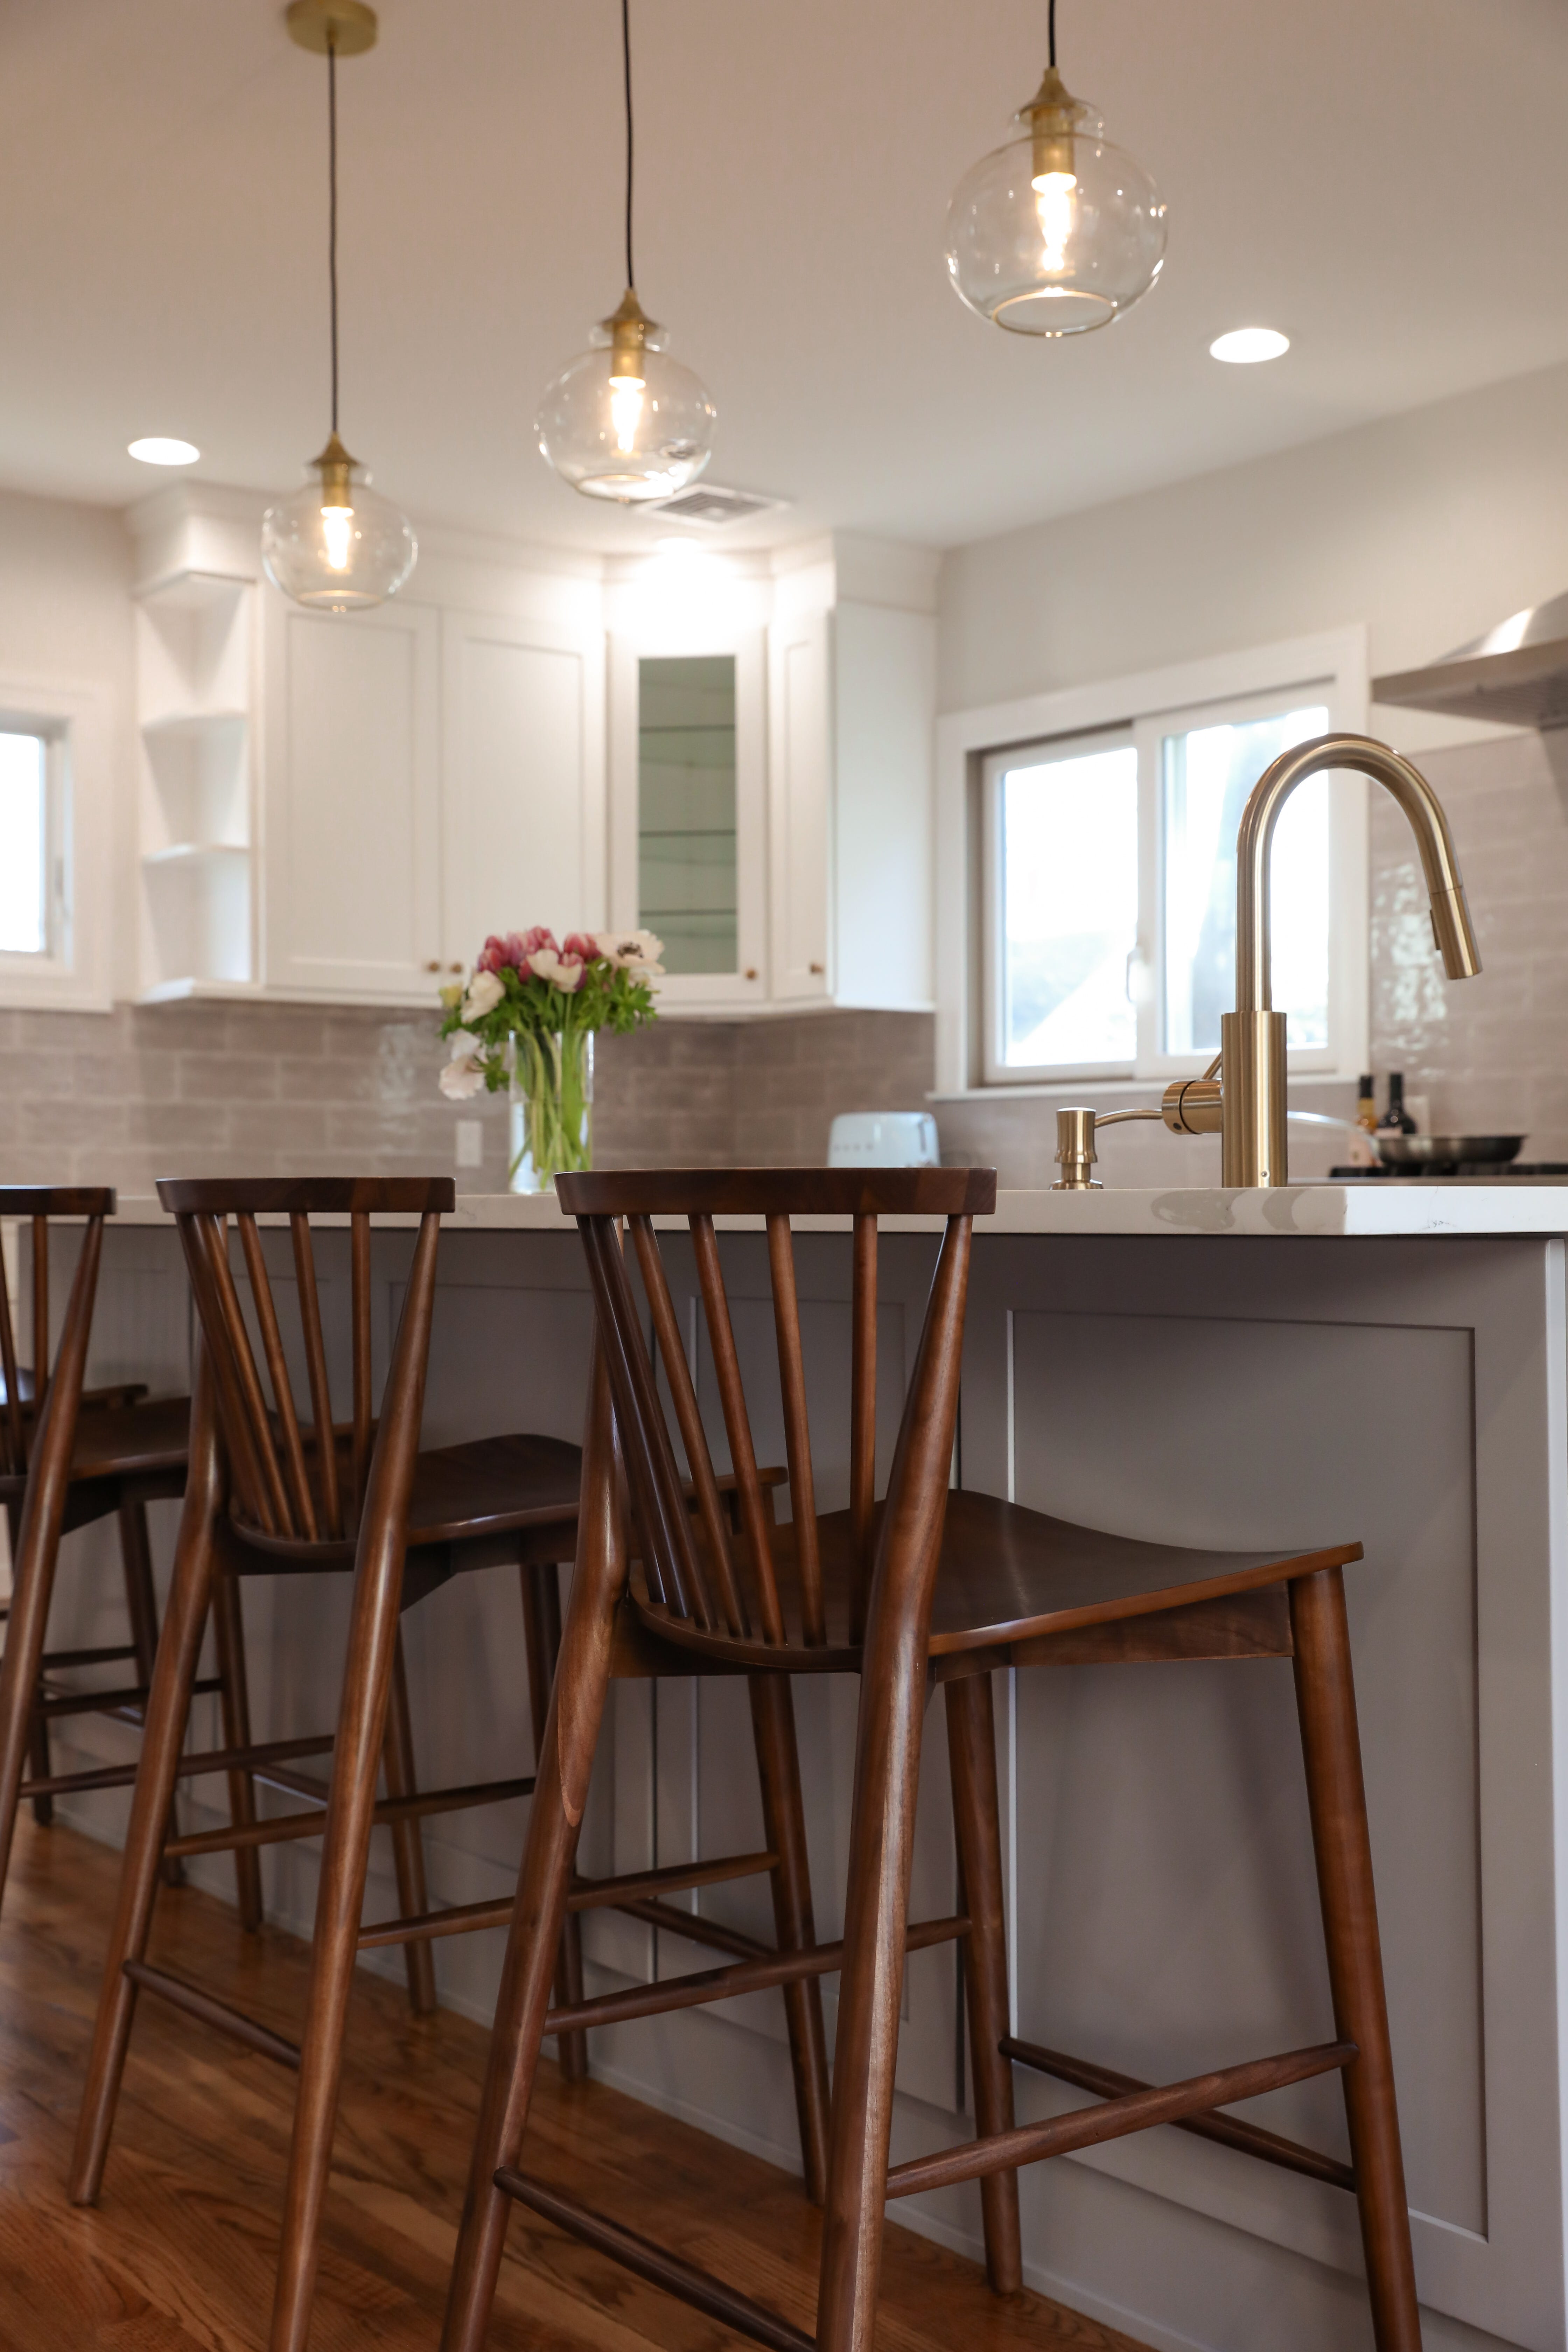
Barstools for the island
I’m a Libra and must know every single option when choosing anything from a hotel, shopping, whatever. This did NOT bode well for the nearly 50 pages of (mostly not cute) barstools I was finding online, and yes, I went through a LOT of them. Some I really liked were just way beyond what I was willing to spend (especially since we needed at least 4 barstools to fill the space, so it adds up!). I just wanted something simple, a little earthy, and I also needed the stools to have backs, because I will likely be working from home in the kitchen a lot of my days.
I was so happy to find these solid wood counter stools (in walnut finish) during that holiday sale— while it was a smidge higher in price point than I initially wanted to spend, it was actually a great price for solid wood furniture (hard to come by these days), and we did want something more durable and quality for the long run. Plus, they have been our only pieces of furniture (aside from our bed) we’ve had for nearly 2 weeks now, so we were kind of desperate for decent seating.
I really love the warmth it introduces to the space, and I’m so happy with the way everything looks.
And now, I’m tackling some painting of bedrooms before the movers arrive… more to come on that soon!
Loving this newsletter? I’d be forever grateful if you subscribe and/or spread the word!
Questions, feedback, thoughts, requests for what you want to hear about in here— just reply to this email to share it all with me.


